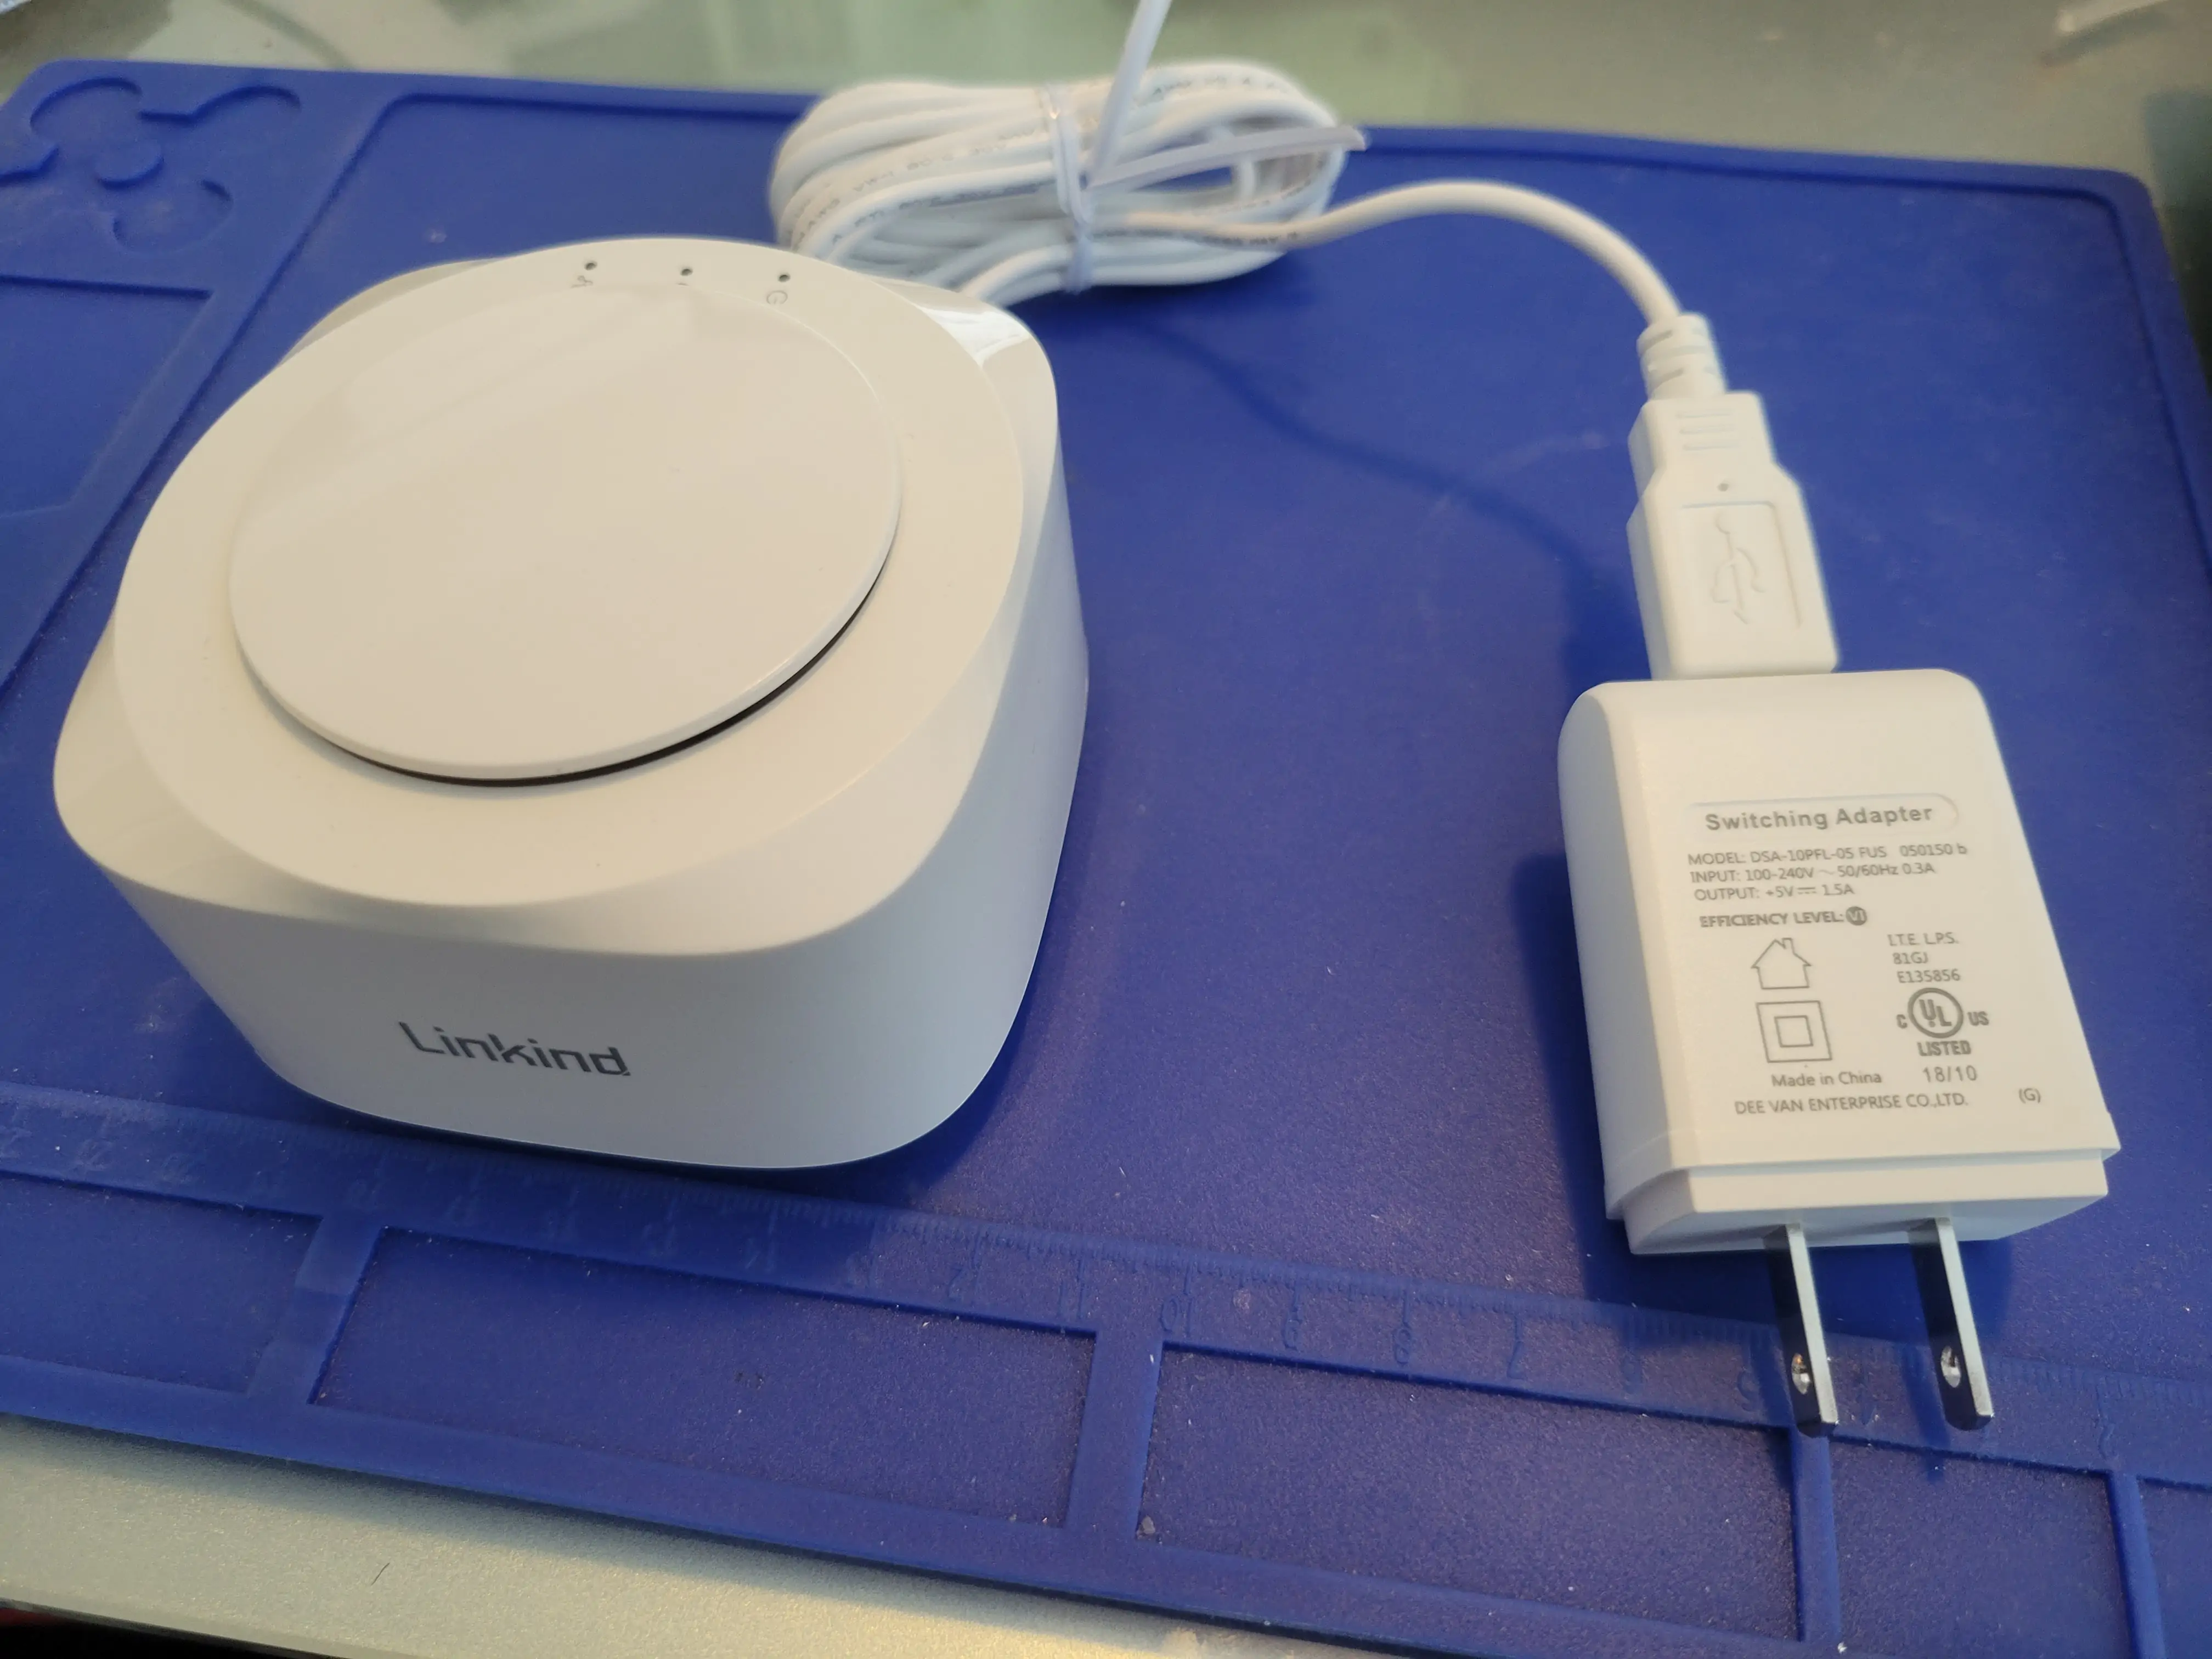
Linkind Siren Hub (ZS120000118)
These keep popping up as part of a "Linkind Wireless Smart Home Security System, DIY 5 Piece set" that include this hub.
Wonderful thing about this device is the community discoverd it was running OpenWRT
It has a QCA4531-BL3A QUALCOMM WiFi Module, running OpenWRT and has a EFR32 Zigbee module. We obviously don't want to use it as a zigbee hub here but more for what other things we can hack it and make it do. This page will cover how to connect it to your Wi-Fi and use MQTT to control the siren via Home Assistant.
Purchase
or
Info: The set was picked up for ~$9 USD at some point. Watch for a deal.
Default Credentials
username: rootpassword: lds_123456
These credentials work via SSH or web interface
Button Commands
Factory Reset
Hold the button for 10 seconds
Setup Mode
Press the button 3 times within 3 seconds
Reprogram via Wi-Fi
If your device is vanilla and never paired up with the Linkind app then it will broadcast and SSID that you can connect a device to. Something like Siren-Hub-XXXX.
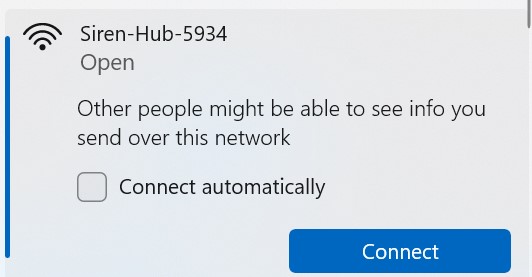
Connect your phone or laptop to this access point and visit http://192.168.10.1/ Login with the credentials listed above
Change the root password
Once logged in visit System -> Administration There will be a form to change the password. Fill it in and save the changes.
Turn off services
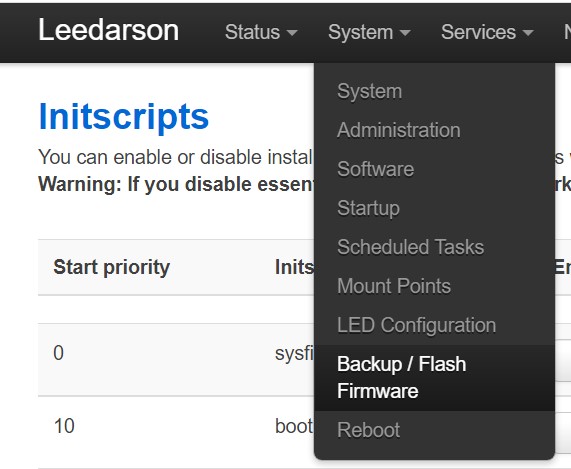
Visit the top menu and choose System -> Startup
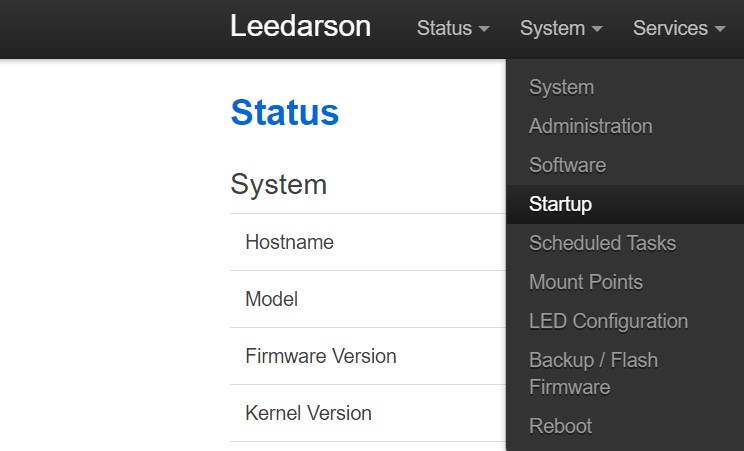
This will show a list of services that start on the devices boot cycle.
Disable the following services:
- mosquitto
- freifunk-watchdog
- subdevice
- ota
- lagent
- smart
Scroll to the bottom where there is a Local Startup section where you can paste in the following script:
for i in mosquitto freifunk-watchdog subdevice ota lagent smart; do
  if /etc/init.d/"$i" enabled; then
    /etc/init.d/"$i" disable
    /etc/init.d/"$i" stop
  fi
done
if ! /etc/init.d/siren_client enabled; then
  /etc/init.d/siren_client enable
  /etc/init.d/siren_client start
fi
exit 0
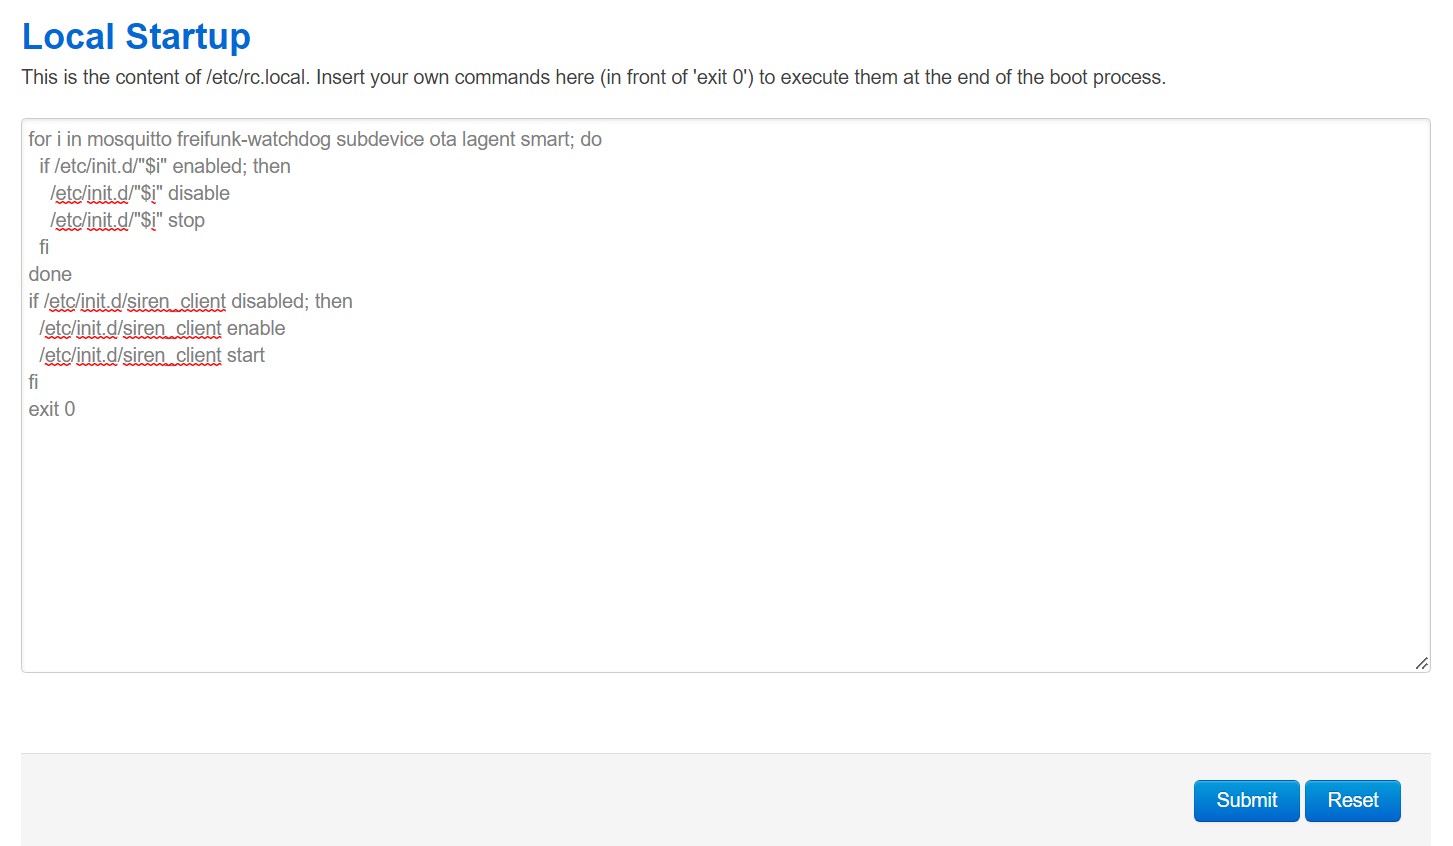
Now hit submit.
Join the device to your Wi-Fi
Visit the top menu and choost Network -> Wifi
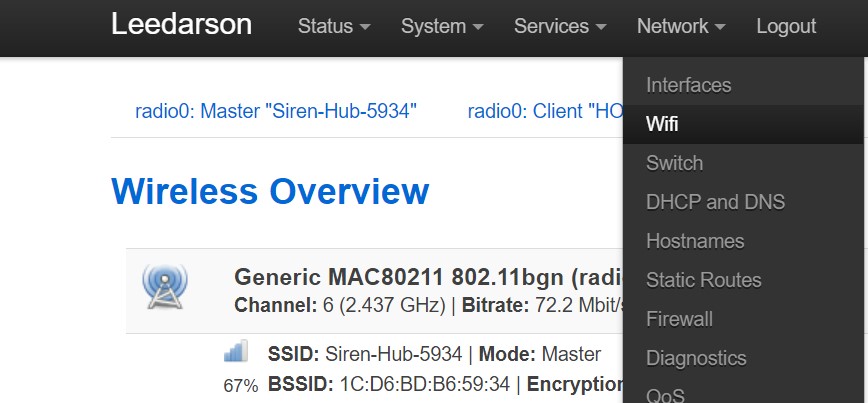
You'll see two networks. The Siren-Hub-XXXX Access point network and a disabled Client network.

We will want to edit the disabled client network and change the SSID to match your wireless network you want this hub to connect to.
Then check the lan checkbox

Then click on the Wireless Security tab and type in the password you use to connect to your Wi-Fi
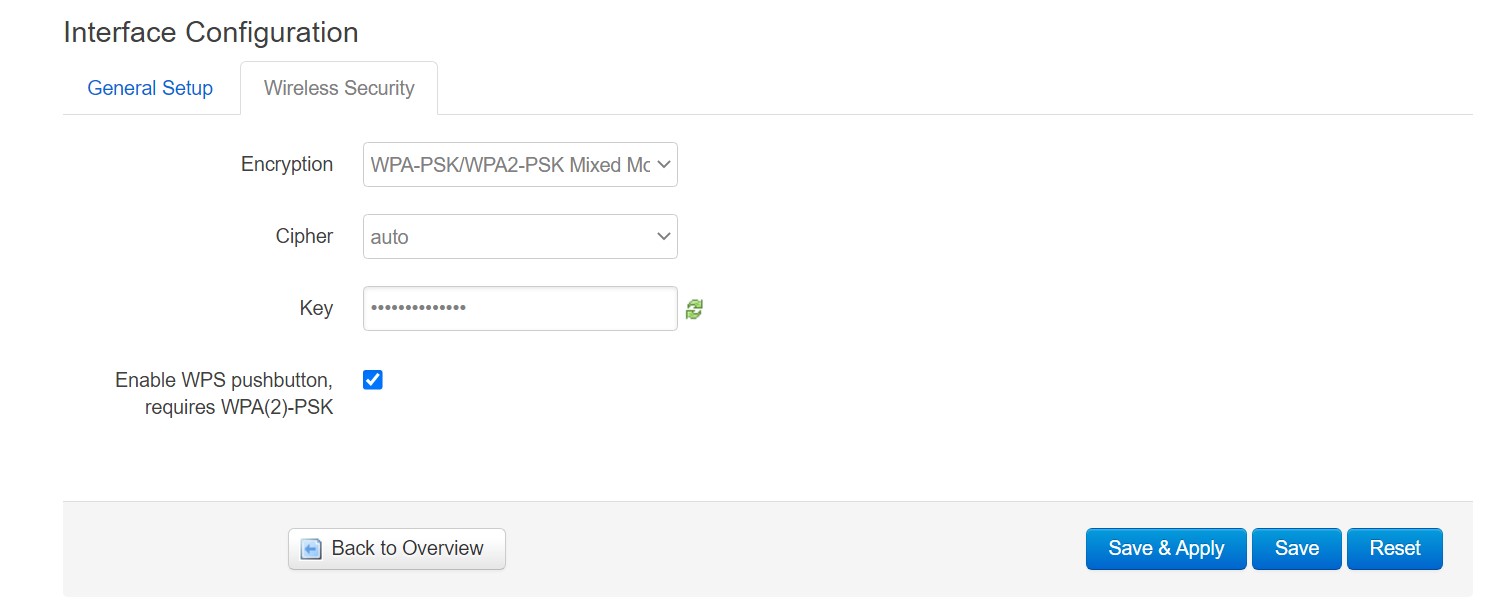
Click Save at the bottom.
Revisit the top menu and choost Network -> Wifi
Click the enable button on the client network you just configured and it will try to connect to your Wi-Fi

Visit your router / DHCP server and find what IP address it picked up.
If you were able to access it via the new IP address now we want to clean up the Siren-Hub-XXX SSID broadast.
Revisit the top menu and choost Network -> Wifi
Click the delete button on the network that shows the SSID as Siren-Hub-XXXX

Neuter Linkind Agent Configuration
You'll need to SSH into the ip address that your hub has gotten as the root user
Edit the file /etc/lagent/lagent.conf
root@Leedarson:~# vi /etc/lagent/lagent.conf
We want to remove all of the Linkind endpoints to make sure the device doesn't pick up changes from Linkind. Look for the these lines and change them like shown below.
Before:
mqtt_host azuremqtt.arnoo.com
srv_addr us-smarthome.arnoo.com
After:
mqtt_host 0.0.0.0
srv_addr 0.0.0.0
Create our own service
Now we'll want to create a script that can subscribe to your MQTT server. Create the following script:
root@Leedarson:~# touch /usr/bin/siren_client.sh
root@Leedarson:~# chmod +x /usr/bin/siren_client.sh
root@Leedarson:~# vi /usr/bin/siren_client.sh
With content:
username=<YOUR MQTT USERNAME GOES HERE>
password=<YOUR MQTT PASSWORD GOES HERE>
broker=<YOUR MQTT BROKER IP GOES HERE>
mqtt_path=linkind/siren/01
wlan_ip=$(ip -4 addr show wlan0-1 | grep inet | tr -s " " | cut -d" " -f3 | head -n 1 | awk -F "/" '{ print $1 }')

mosquitto_pub -h $broker -u $username -P $password -t homeassistant/siren/linkind/01/config -m '
{
  "payload_available": "online",
  "payload_not_available": "offline",
  "availability_topic": "'$mqtt_path'/status",
  "device": {
    "configuration_url": "http://'$wlan_ip'/",
    "identifiers": [
      "linkind_sirenhub_01"
    ],
    "manufacturer": "Linkind",
    "model": "Siren Hub ZS1200000118",
    "name": "Siren Hub",
    "sw_version": "1.0"
  },
  "available_tones": ["fire","burglar","doorbell","fault","arm"],
  "command_topic": "'$mqtt_path'/command",
  "support_duration": true,
  "support_volume_set": true,
  "unique_id": "linkind_siren_hub_01",
  "name": "Siren Hub",
  "optimistic": true
}'

while true
do
  mosquitto_pub -h $broker -u $username -P $password -t $mqtt_path/status -m online

  mosquitto_sub -h $broker -u $username -P $password -t $mqtt_path/command --will-topic $mqtt_path/status --will-payload offline --will-retain | while read -r cmd
  do
    state=`jsonfilter -s $cmd -e @.state`
    echo $cmd

    case "$state" in
      ON)
        echo "Turn On command"
        tone=`jsonfilter -s $cmd -e @.tone`
        tone=${tone:="fire"}
        duration=`jsonfilter -s $cmd -e @.duration`
        duration=${duration:="120"}
        volume_level=`jsonfilter -s $cmd -e @.volume_level`
        volume_level=${volume_level:="1.0"}
        volume_name=low
        if [ $volume_level == "1.0" ]; then
          volume_name=high
        fi

        echo "Parameters: Tone: $tone, Duration: $duration, Volume: $volume_name"
        ubus -t 1 call device set_prop '{"siren_level":"'$volume_name'","strobe":"on","strobe_level":"high","warning_duration":'$duration',"warning_mode":"'$tone'"}'
        ;;
      OFF)
        echo "Turn Off command"
        ubus -t 1 call device set_prop '{"siren_level":"high","strobe":"off","strobe_level":"high","warning_duration":0,"warning_mode":"fire"}'
        ;;
      *)
        echo "Unknown Message: $cmd - $state"
        ;;
      esac
  done
  sleep 10
done
Now we'll create our service script
root@Leedarson:~# touch /etc/init.d/siren_client
root@Leedarson:~# chmod +x /etc/init.d/siren_client
root@Leedarson:~# vi /etc/init.d/siren_client
/etc/init.d/siren_client:
#!/bin/sh /etc/rc.common

USE_PROCD=1
START=99
STOP=13

start_service()
{
        procd_open_instance
        procd_set_param command /bin/sh "/usr/bin/siren_client.sh"
        procd_set_param stdout 1
        procd_set_param stderr 1
        procd_set_param respawn
        procd_close_instance
}

reload_service()
{
        stop
        start
}
Then enabled the service:
/etc/init.d/siren_client enable
Now reboot the system by either power cycling it or running the command:
root@Leedarson:~# reboot
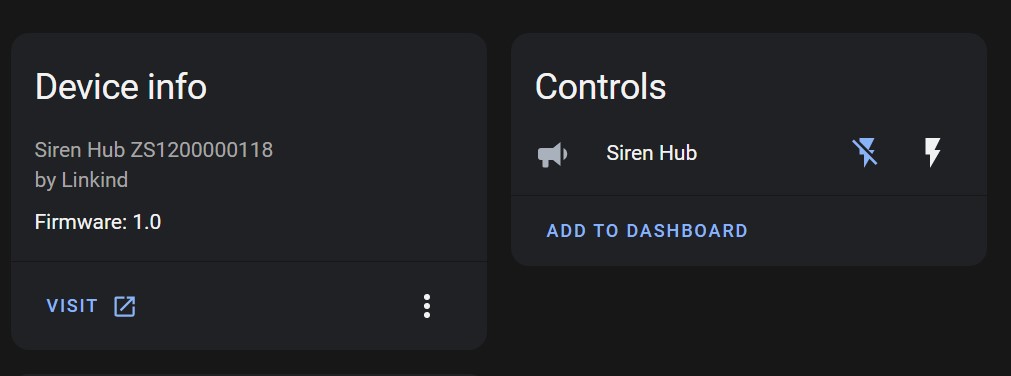
Home Assistant
The device should auto discover in Home Assistant and you'll be able to trigger the siren with a button push!
Make a backup
Now that you have everything setup properly then make a backup of the configuration and download the tar.gz file for easier restore if something gets messed up.

Manual Commands (SSH)
You can control the siren via the command prompt of the SSH shell.
Example 1 (Loud and flashing lights) for one second
ubus -t 1 call device set_prop '{ "siren_level": "high", "strobe": "on", "strobe_level": "high", "warning_duration": 1, "warning_mode": "fire"}'
Example 2 (Quiet and no lights) for 10 seconds
ubus -t 1 call device set_prop '{ "siren_level": "low", "strobe": "off", "warning_duration": 10, "warning_mode": "fire"}'
Example 3 (Medium sound and lights)
ubus -t 1 call device set_prop '{ "siren_level": "medium", "strobe": "on", "strobe_level": "medium", "warning_mode": "fire"}'