Feit Electric Wifi Dimmer (3 Way)
Tuya MCU (Nuvoton) dimmer.
Purchase via Amazon
Purchase via Costco
Supported in TASMOTA & ESPHome.
Quick Setup via TASMOTA Console Command
backlog module 54; TuyaMCU 21,2; DimmerRange 10,1000
TASMOTA Template
No template needed. Select TuyaMCU(54) in the Configure Module screen or issue a module 54 commmand on the TASMOTA console.
GPIO Layout
| GPIO | Component | Description |
|---|---|---|
| GPIO01 | Tuya TX | MCU Transmit |
| GPIO03 | Tuya RX | MCU Recieve |
Settings
| Setting | Description |
|---|---|
| TuyaMCU 21,2 | Enable MCU communication |
| DimmerRange 10,1000 | Set dimming range to match the lower and upper value of the faceplate limits |
| setoption59 1 | Report light state changes via MQTT |
ESPHome YAML
esphome:
  name: Feit MCU Dimmer
  friendly_name: Feit Dimmer
  platform: ESP8266
  board: esp01_1m

wifi:
  ssid: !secret wifi_ssid
  password: !secret wifi_password
  ap:
    ssid: "Feit Dimmer"
    password: # !secret wifi_ap_password

captive_portal:

api:

ota:
  platform: esphome

# disable serial logging by setting baud_rate to 0 because baud_rate/serial connection is used by tuyamcu
logger:
  baud_rate: 0

uart:
  rx_pin: GPIO3
  tx_pin: GPIO1
  baud_rate: 9600

tuya:

light:
  - platform: "tuya"
    name: "Feit Dimmer Light"
    dimmer_datapoint: 2
    switch_datapoint: 1
    min_value: 10
    max_value: 1000
Serial Flashing
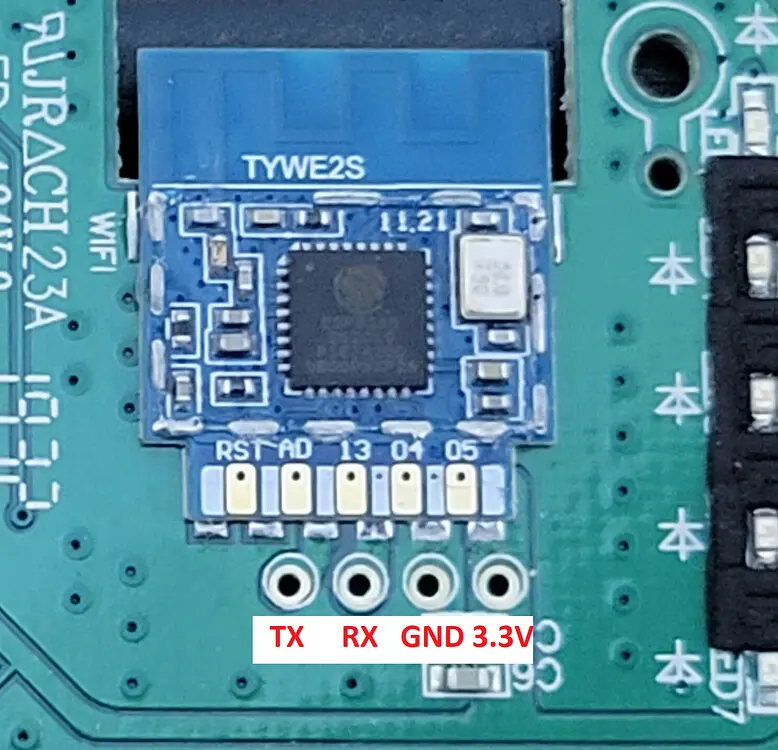
After unscrewing and pulling the faceplate off of the HV internals, you should be faced with the TYWE2S module.

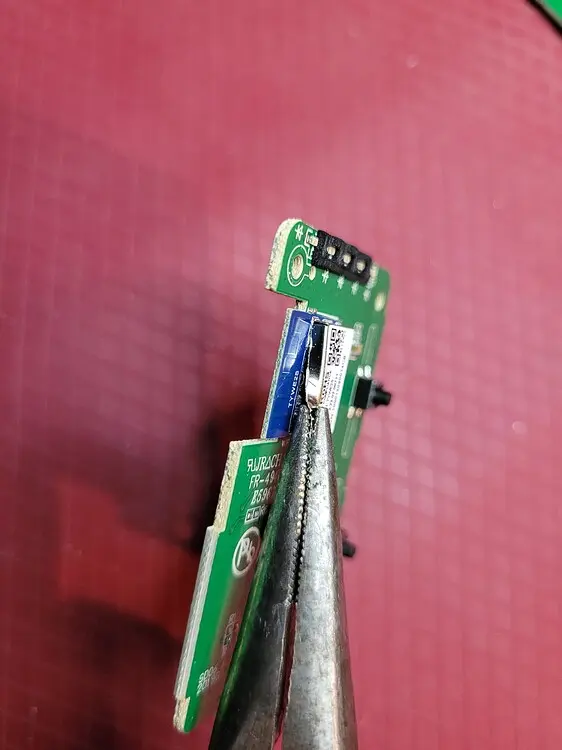
If the shield has not already been removed, remove it.

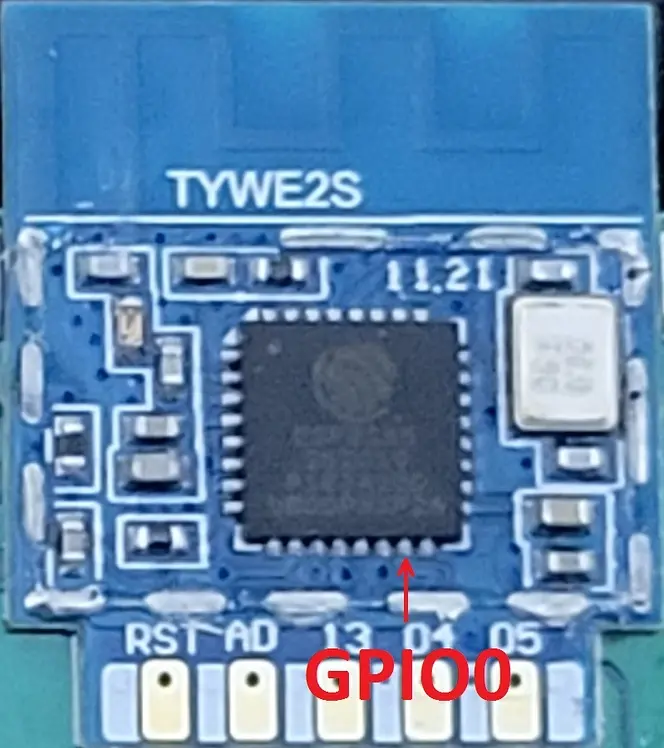
Solder (!very carefully!) or touch (you must have surgeon hands) GPIO0 and flash as you would normally.
