SwitchBot 15Amp W1901400
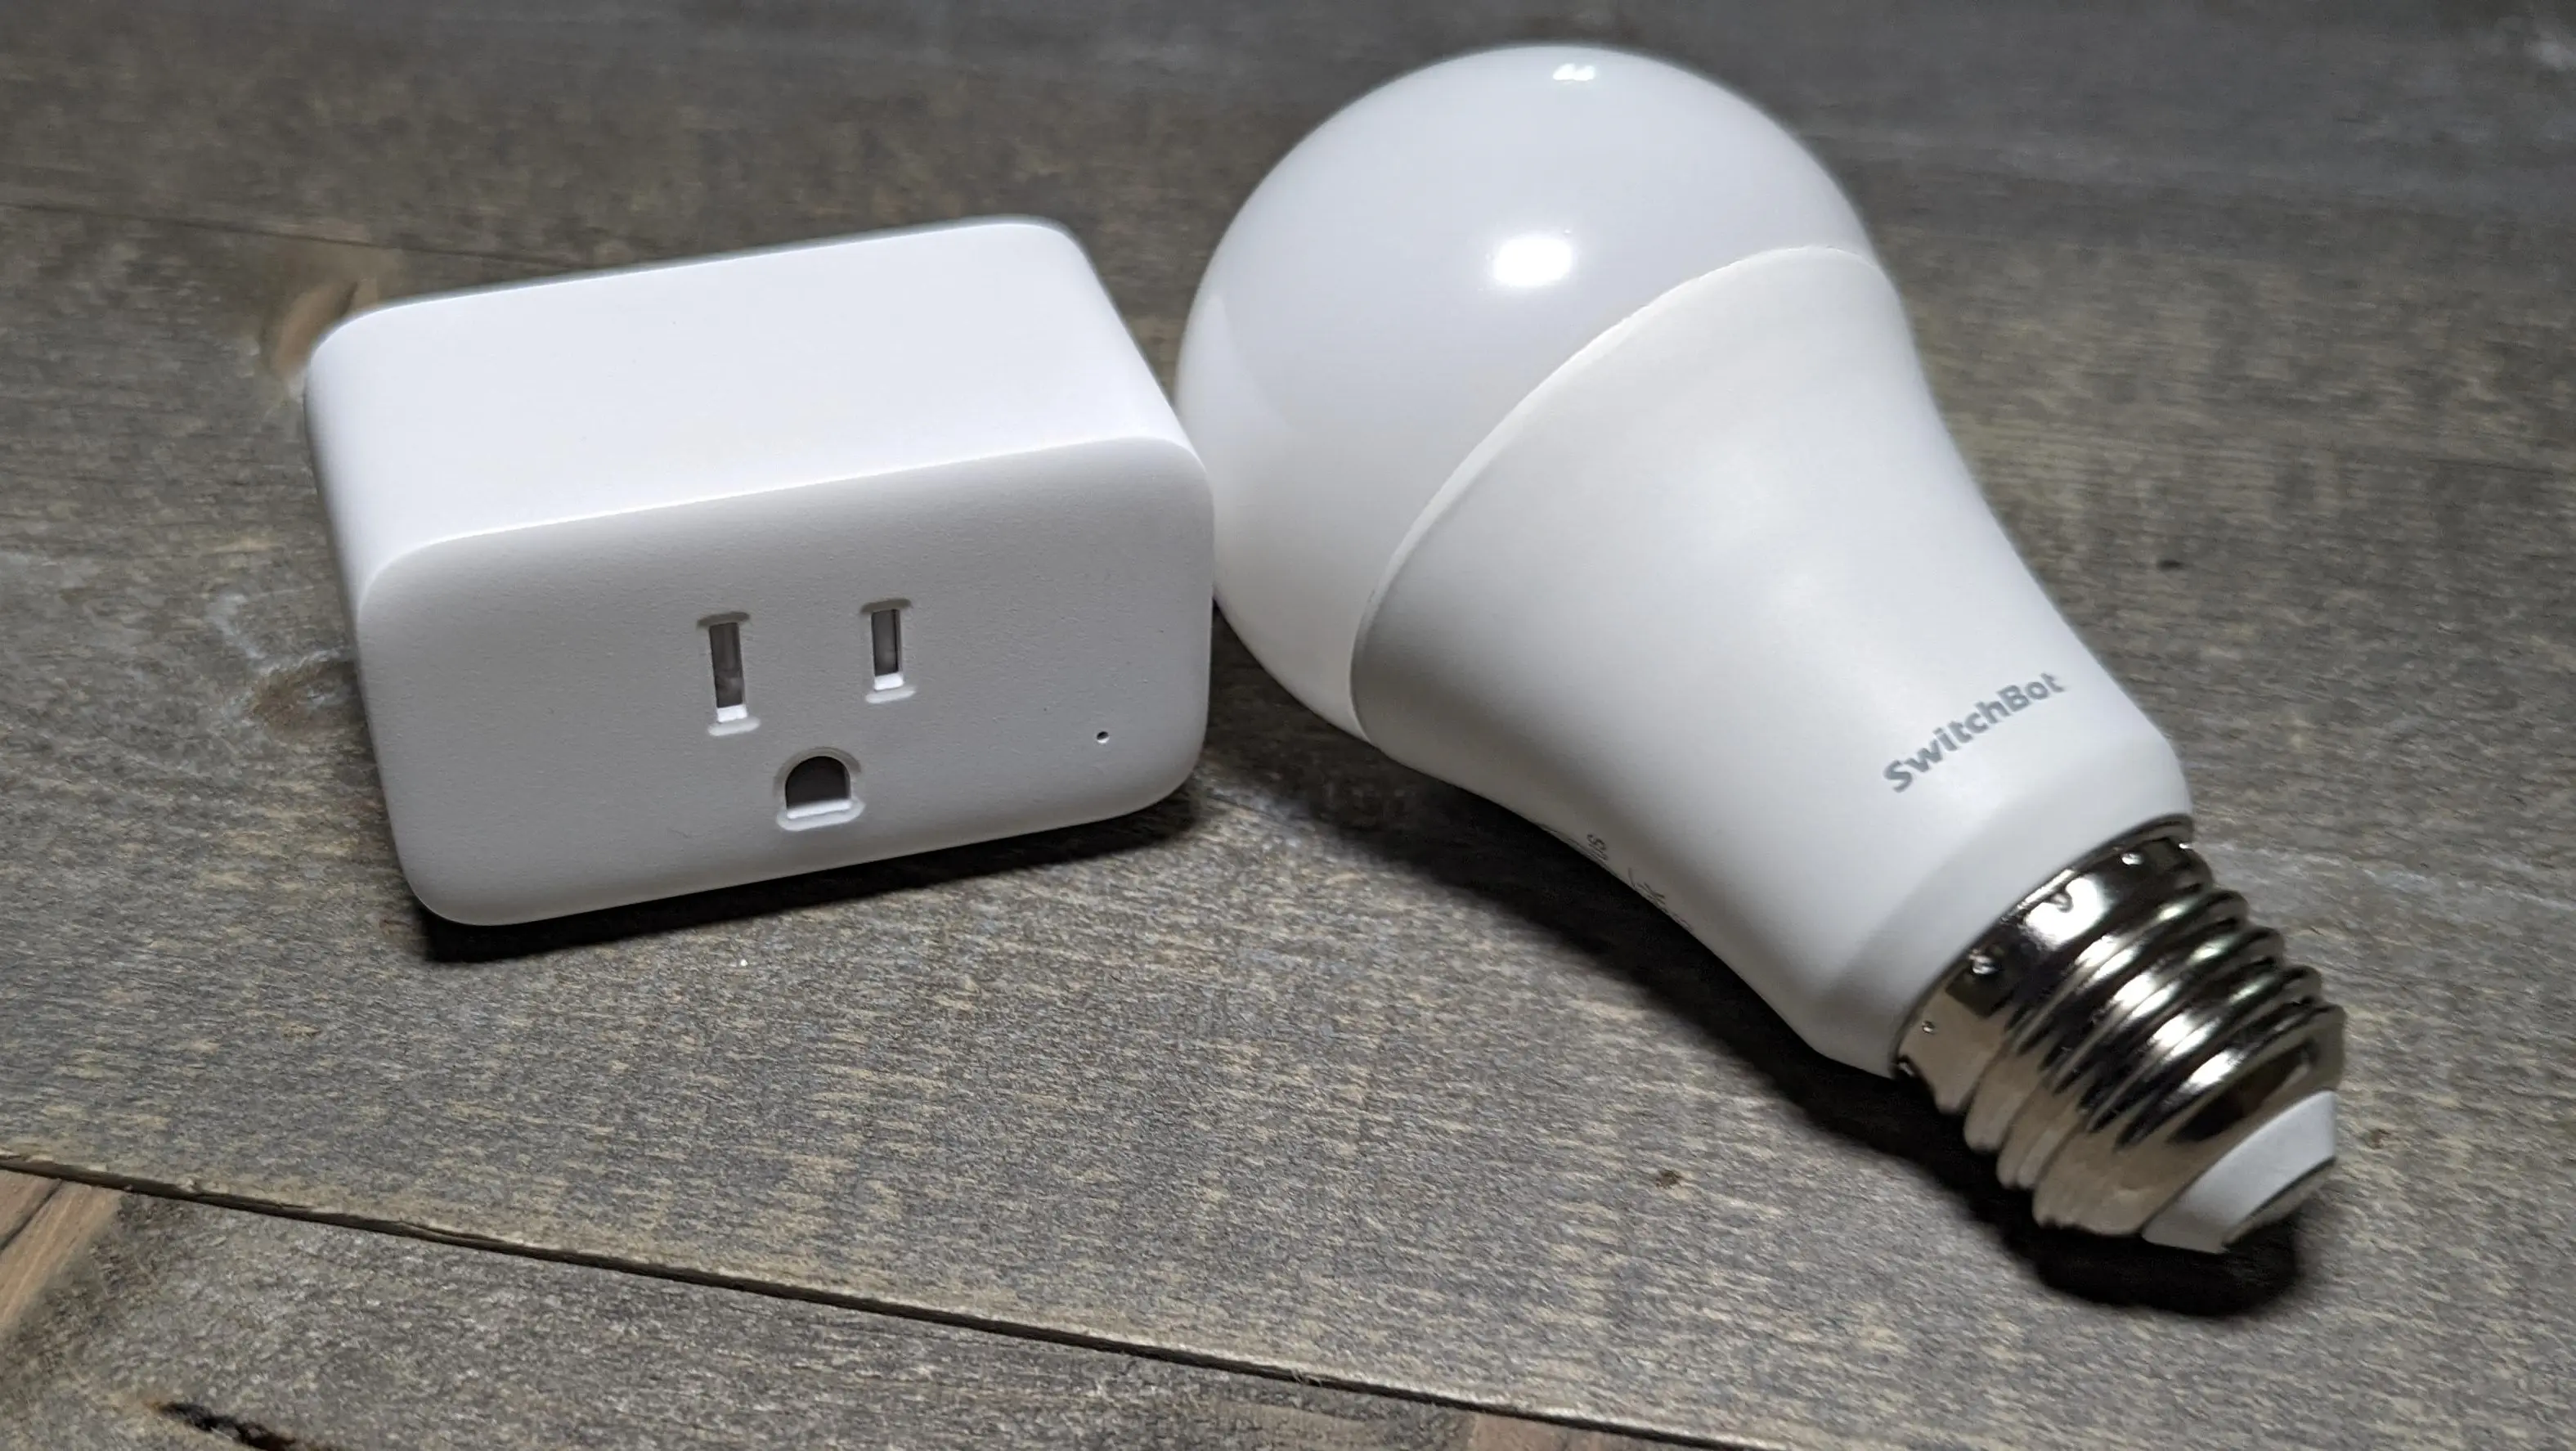
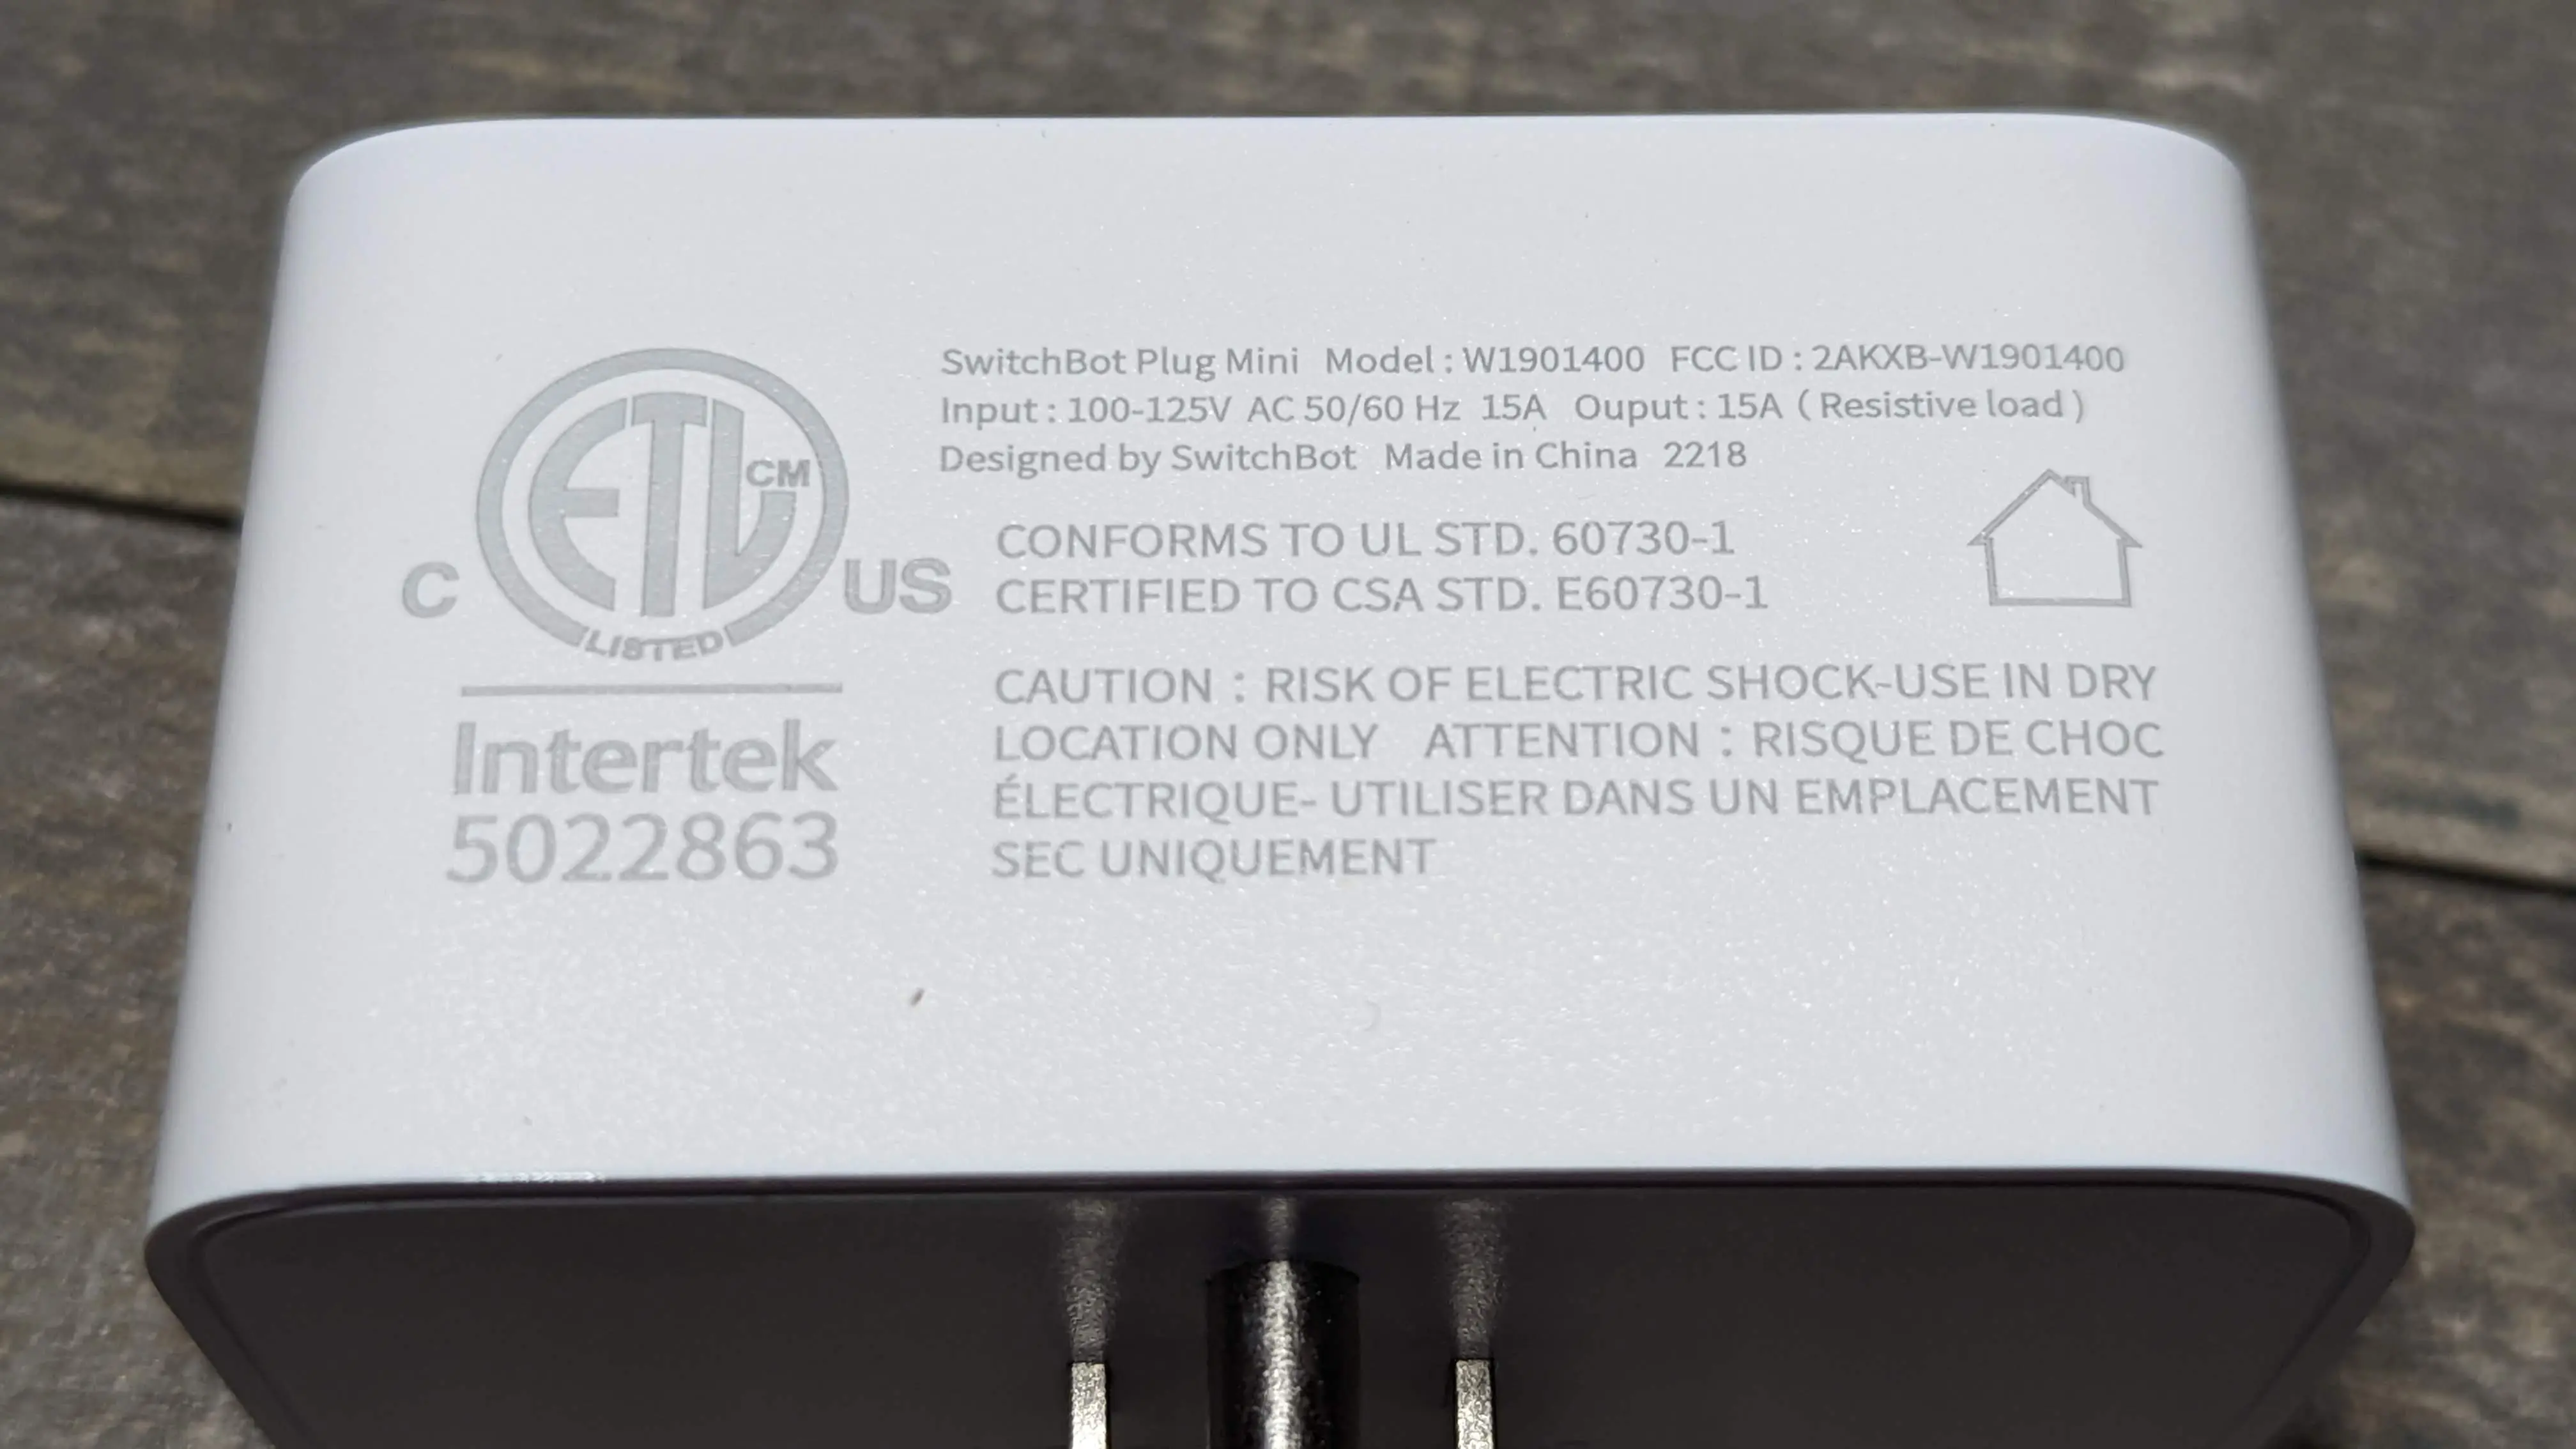
15 amp ESP32-C3 based plug for the North America market that does not block the other outlet. This smart plug can currently be upgraded via the SwitchBot OTA process - GitHub or digiblurDIY Video, no soldering or manual flashing invovled. FCC-ID: 2AKXB-W1901400
Purchase via Amazon
Purchase via SwitchBot Store
As noted in the video walkthrough, if your device already has the latest firmware you will need to reference the video at 9:14 or this Github thread to send over the bluetooth update packet to initiate the trigger from your local SwitchBot OTA process.
TASMOTA Template
{"NAME":"SwitchBot 15A Plug","GPIO":[0,0,32,0,0,0,224,320,321,0,0,0,0,0,0,0,0,0,2720,2656,2624,0],"FLAG":0,"BASE":1}
TASMOTA Settings
Power calibration needs to be done via the Tasmota Calibration Procedure
To turn off the useless ESP32 Temperature use the following command on the console SetSensor127 0
GPIO Layout
| GPIO | Component | Description |
|---|---|---|
| GPIO02 | Button 1 | Plug ON/OFF Button |
| GPIO06 | Relay 1 | Relay |
| GPIO07 | Led_i 1 | Inverted LED 1 |
| GPIO08 | Led_i 2 | Inverted LED 2 |
| GPIO18 | BL0937 CF | Power Monitoring Pins |
| GPIO19 | HLWBL CF1 | Power Monitoring Pins |
| GPIO20 | HLWBL SEL_i | Power Monitoring Pins |
Moving to ESPHome
Build the new ESPHome device using the YAML example below and tweak for your network or entity names as needed. In ESPHome choose install, manual download, then once the firmware is built choose the LEGACY download option. Open the Tasmota web GUI on the switchbot plug, select firwmare upgrade and upload the legacy bin downloaded in the previous step. Allow the devices a few minutes before power cycling it if it does not appear on your network.
ESPHome YAML
esphome:
  name: esp32c3-sbotplug
  friendly_name: esp32c3-sbotplug
  platformio_options:
    board_build.mcu: esp32c3
    board_build.variant: esp32c3

esp32:
  variant: ESP32C3
  board: esp32-c3-devkitm-1
  framework:
    type: esp-idf
    sdkconfig_options:
      CONFIG_BT_BLE_50_FEATURES_SUPPORTED: y
      CONFIG_BT_BLE_42_FEATURES_SUPPORTED: y
      CONFIG_ESP_TASK_WDT_TIMEOUT_S: "10"

## DO NOT ADD MQTT and API Encryption in this plug - one user reported bootlooping issues in this combination

logger:
api:
  # fixes boot loop issues in esphome 12.5+
  on_client_connected:
    - esp32_ble_tracker.start_scan:
        continuous: true
  on_client_disconnected:
    - esp32_ble_tracker.stop_scan:
ota:
  platform: esphome

button:
  - platform: safe_mode
    name: (Safe Mode)

wifi:
  ssid: !secret wifi_ssid
  password: !secret wifi_password

## DO NOT ADD MQTT

#  Disable the bluetooth tracker/proxy if they are not needed
esp32_ble_tracker:
  scan_parameters:
# Adjust timing if the defaults do not work in your environment
#    interval: 1100ms
#    window: 1100ms
    active: true
    continuous: false # fixes boot loop issues in esphome 12.5+

bluetooth_proxy:
  active: true

sensor:
  - platform: hlw8012
    sel_pin:
      number: GPIO20
      inverted: true
    cf_pin: GPIO18
    cf1_pin: GPIO19
    model: BL0937
    current_resistor: 0.0011
    voltage_divider: 1450
    current:
      name: Amps
    voltage:
      name: Volts
    power:
      name: Watts
      accuracy_decimals: 0
    energy:
      name: Energy
    update_interval: 3s
    change_mode_every: 4

switch:
  - platform: gpio
    name: Relay
    id: relay
    device_class: outlet
    pin: GPIO6
    restore_mode: RESTORE_DEFAULT_OFF
    on_turn_on:
      then:
        - light.turn_on: white_led
    on_turn_off:
      then:
        - light.turn_off: white_led

binary_sensor:
  - platform: gpio
    internal: true
    pin:
      number: GPIO2
      mode: INPUT_PULLUP
      inverted: true
    name: Button
    filters:
      - delayed_on: 10ms
    on_press:
      then:
        - switch.toggle: relay

light:
  - platform: binary
    internal: true
    name: White LED
    id: white_led
    output: white_output
    restore_mode: RESTORE_DEFAULT_OFF

output:
  - id: white_output
    platform: gpio
    pin: GPIO7
    inverted: true

status_led:
  pin:
    number: GPIO8
    inverted: true
Pics & Disassembly
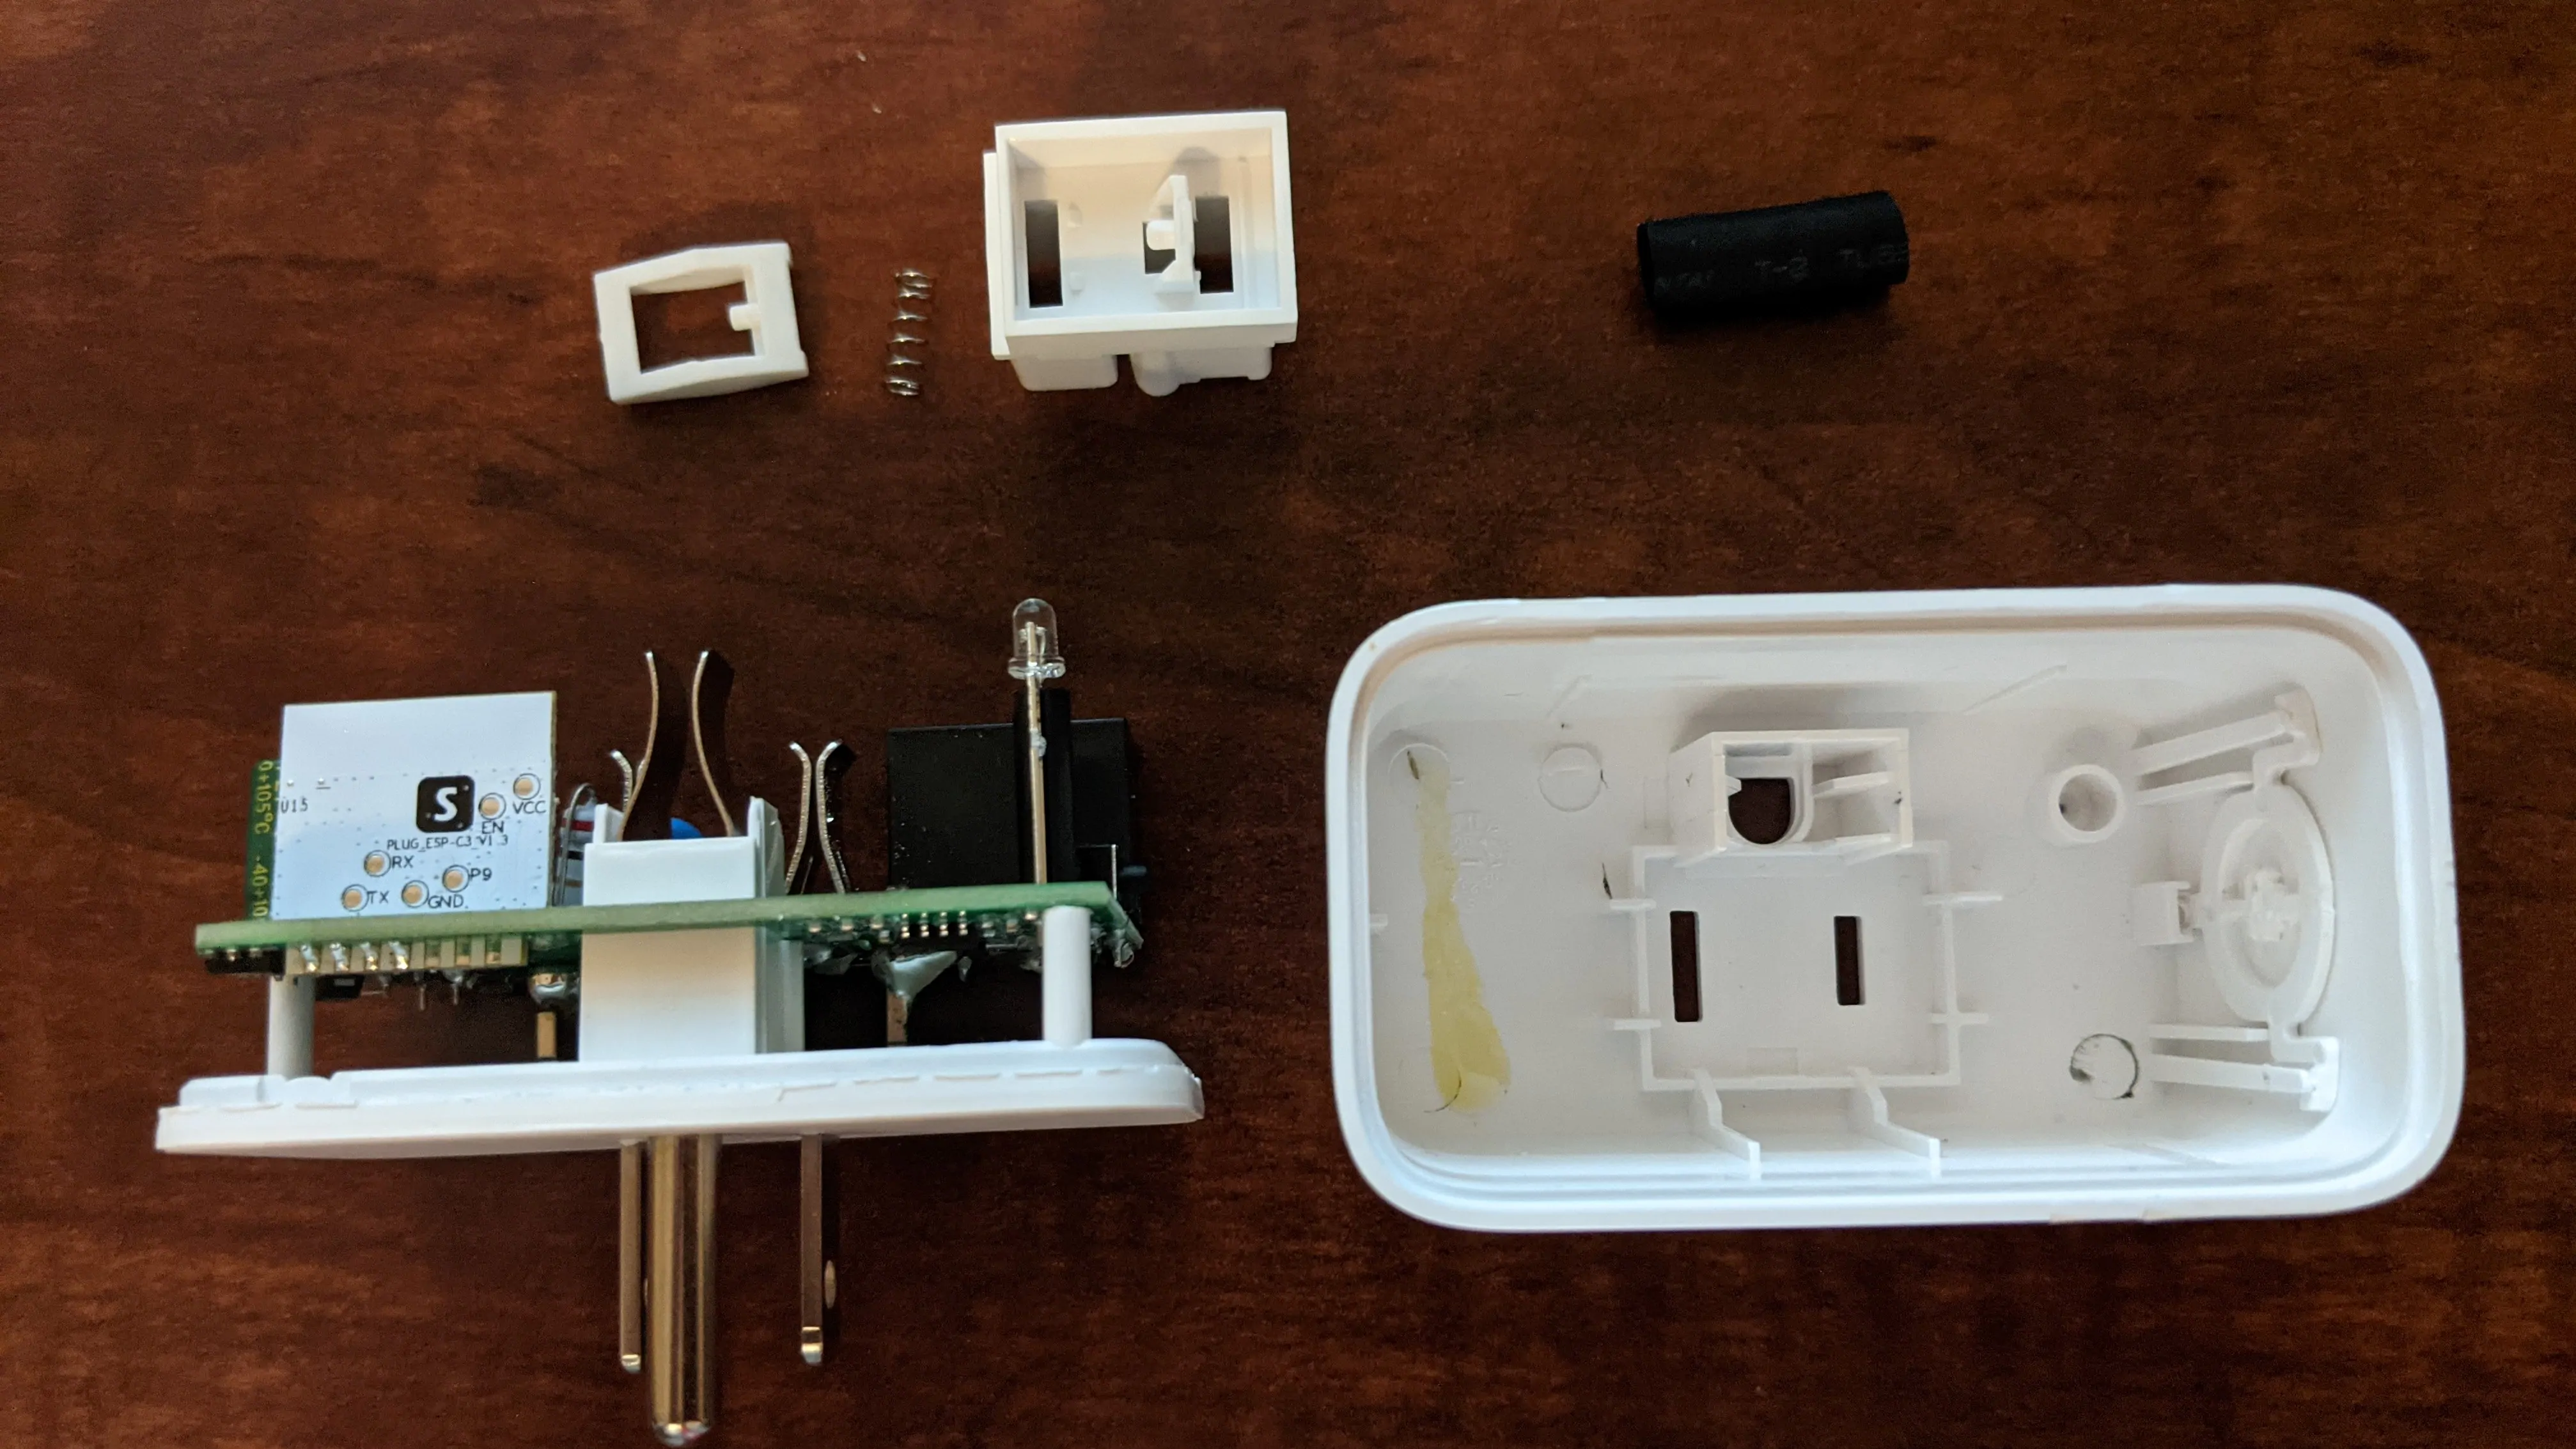
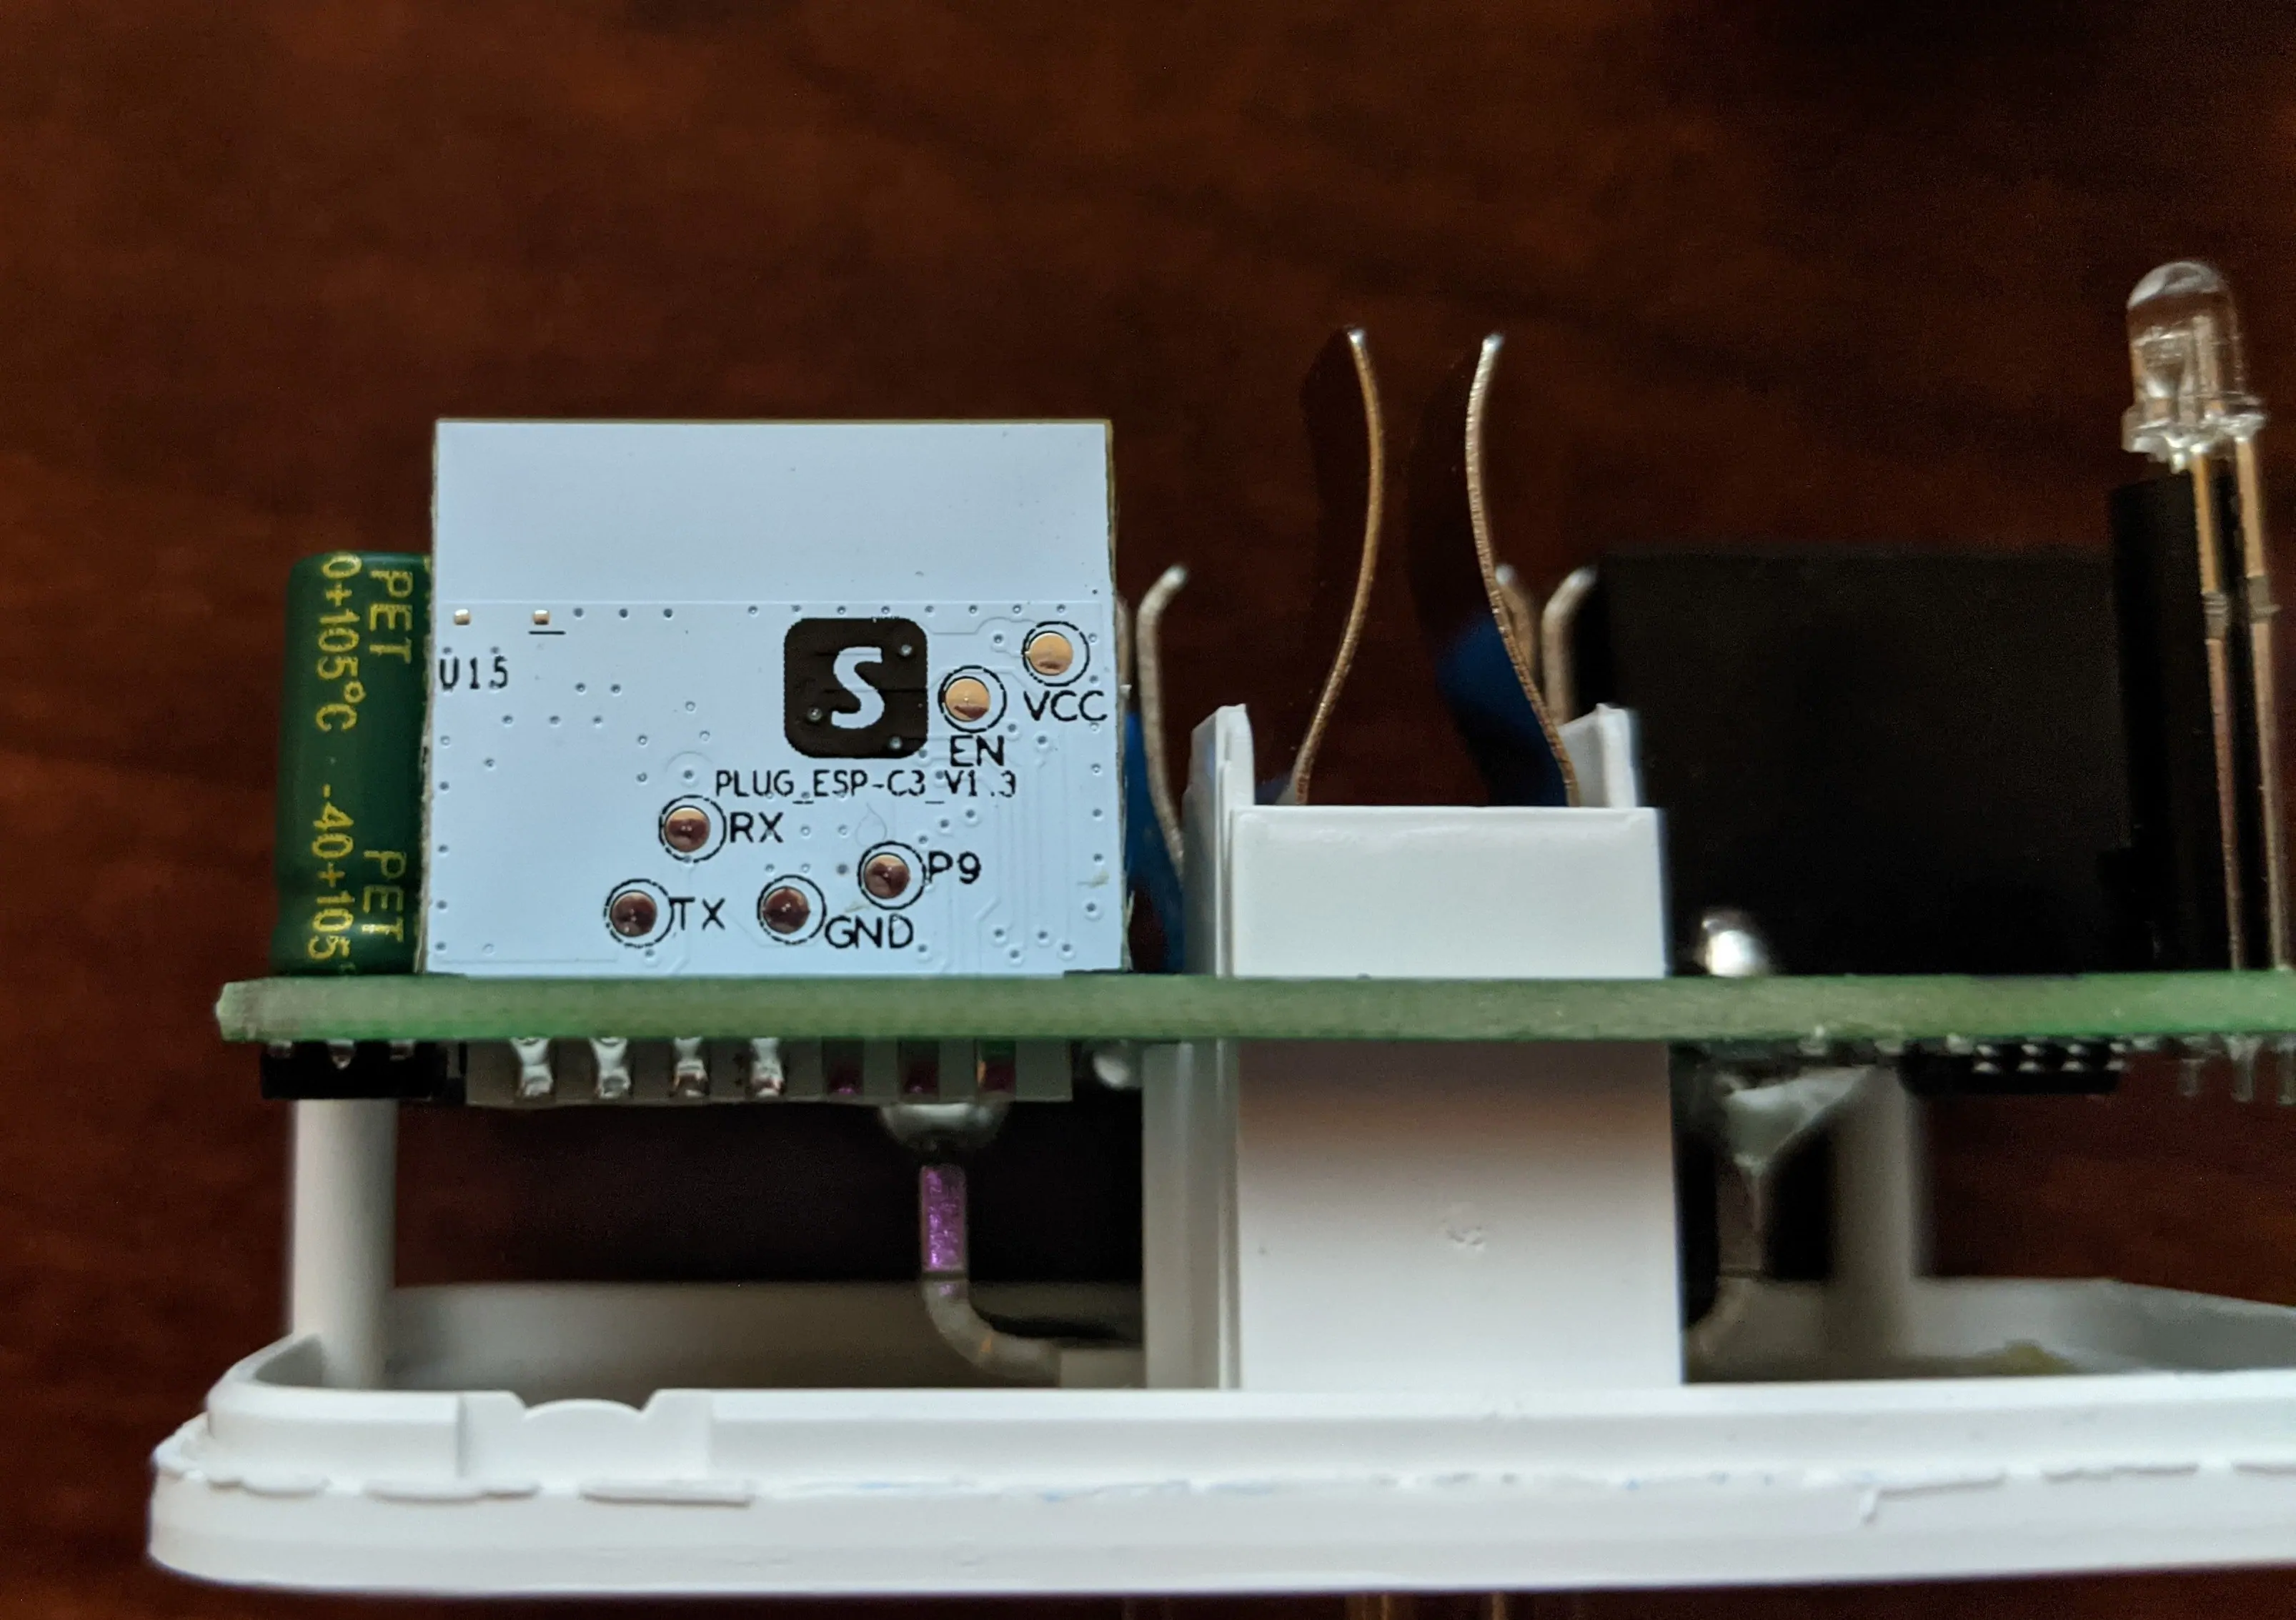
The plug is sonic welded at the edge on the back. Use a spudger and/or blade to carefully remove the two halves. The ESP32-C3 module is the white board with the S on the back. You can use these pins to manually flash the ESP32-C3 with ESPHome or TASMOTA if needed.
The P9 pad is like GPIO 0 in the ESP32-C3 world, it needs to be grounded at power up to enter into bootloader mode. ESP32 flashing procedures


