SONOFF S31
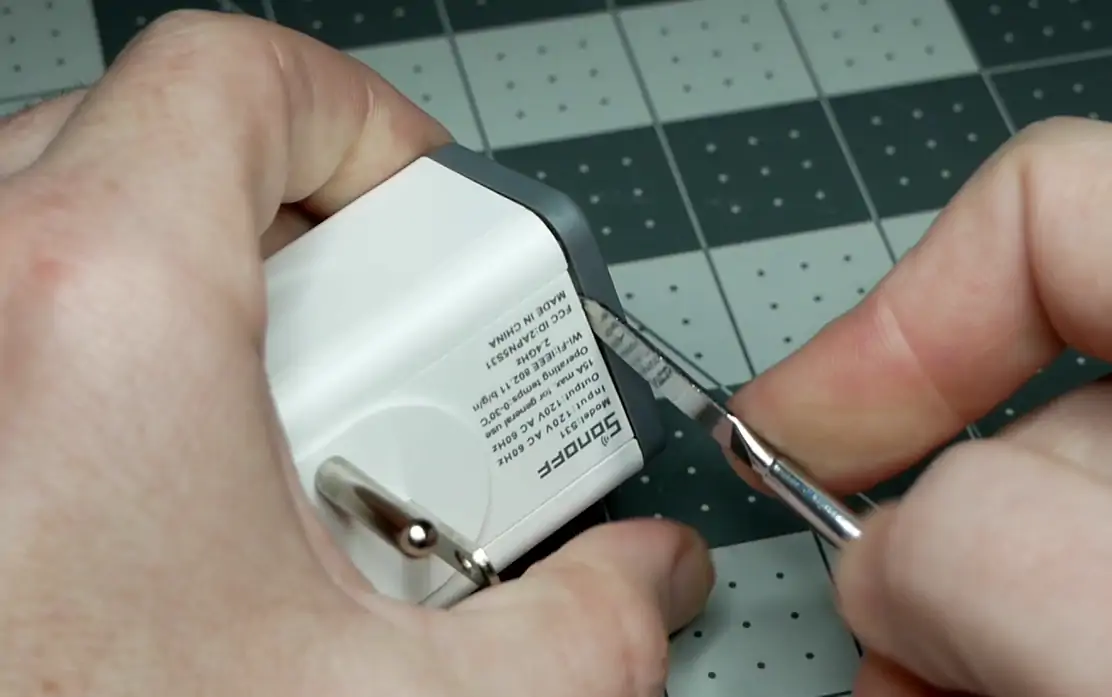
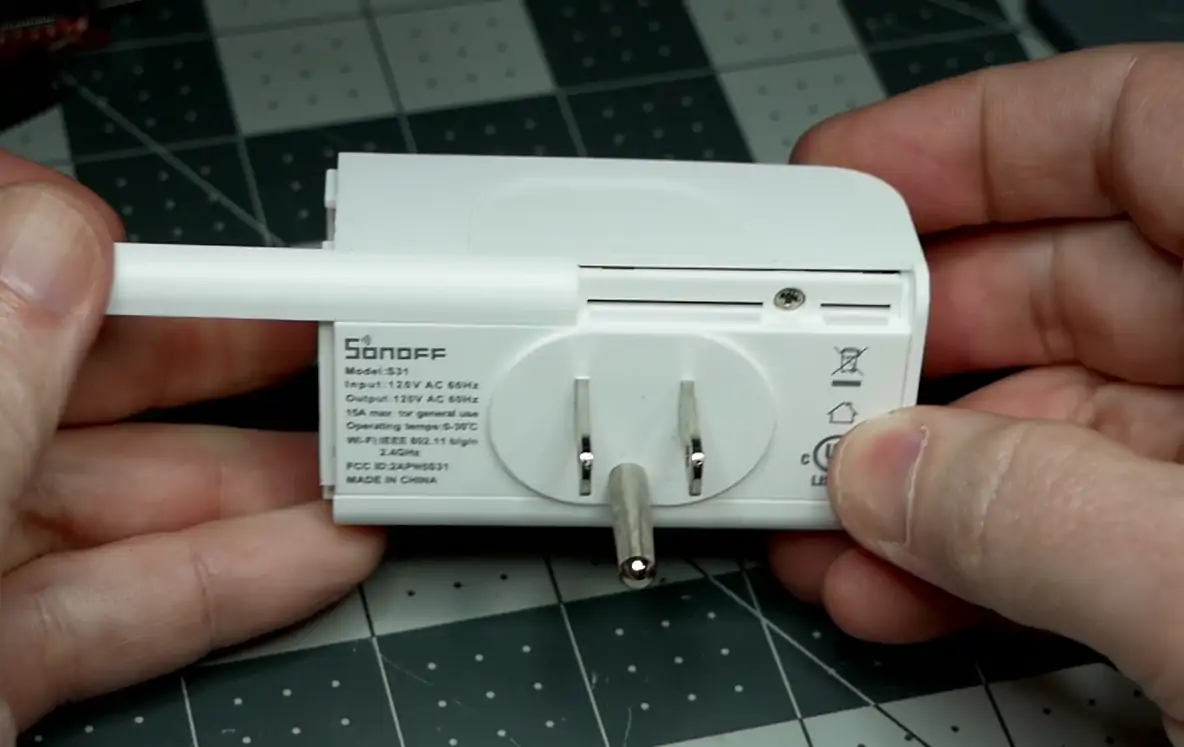
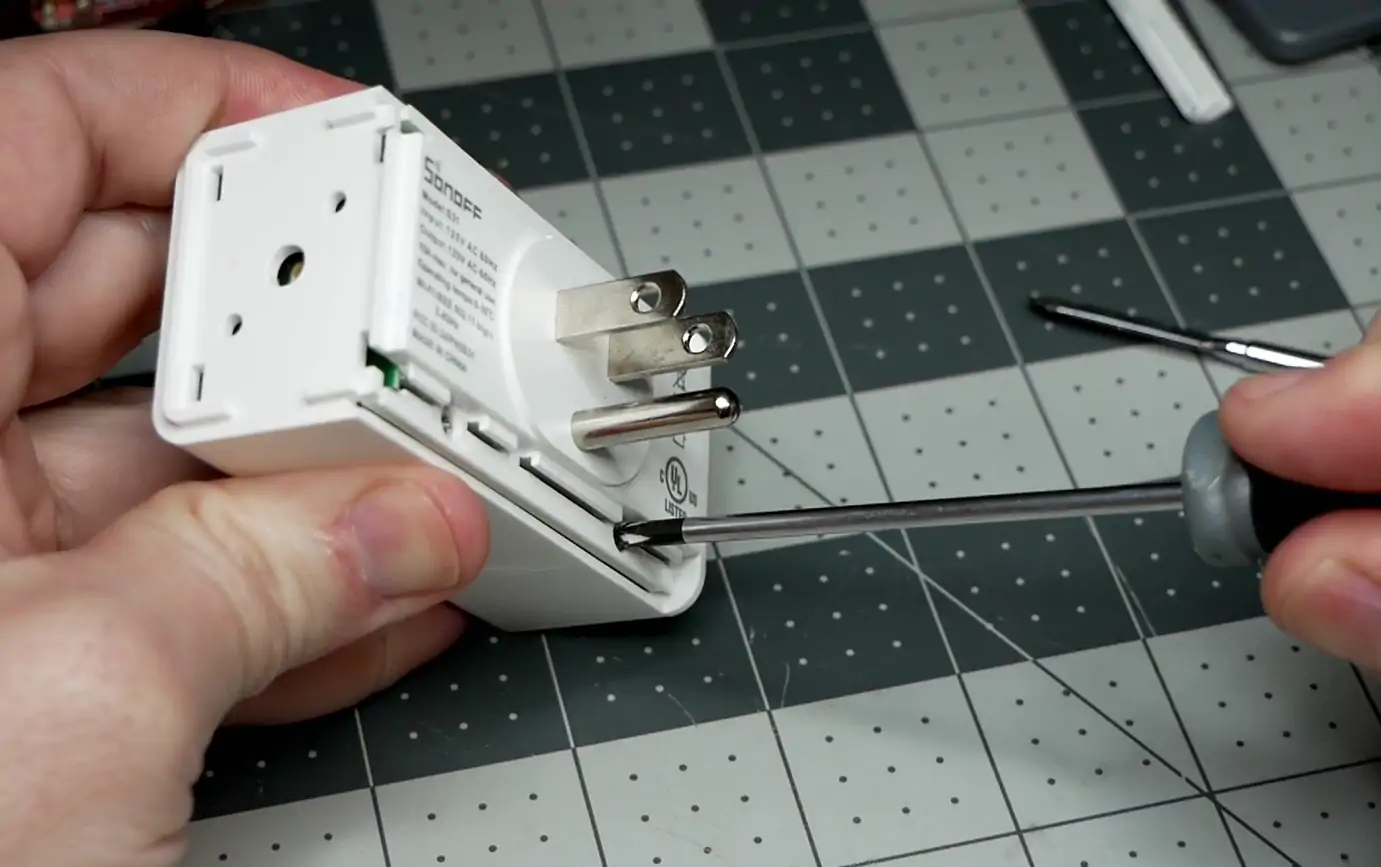
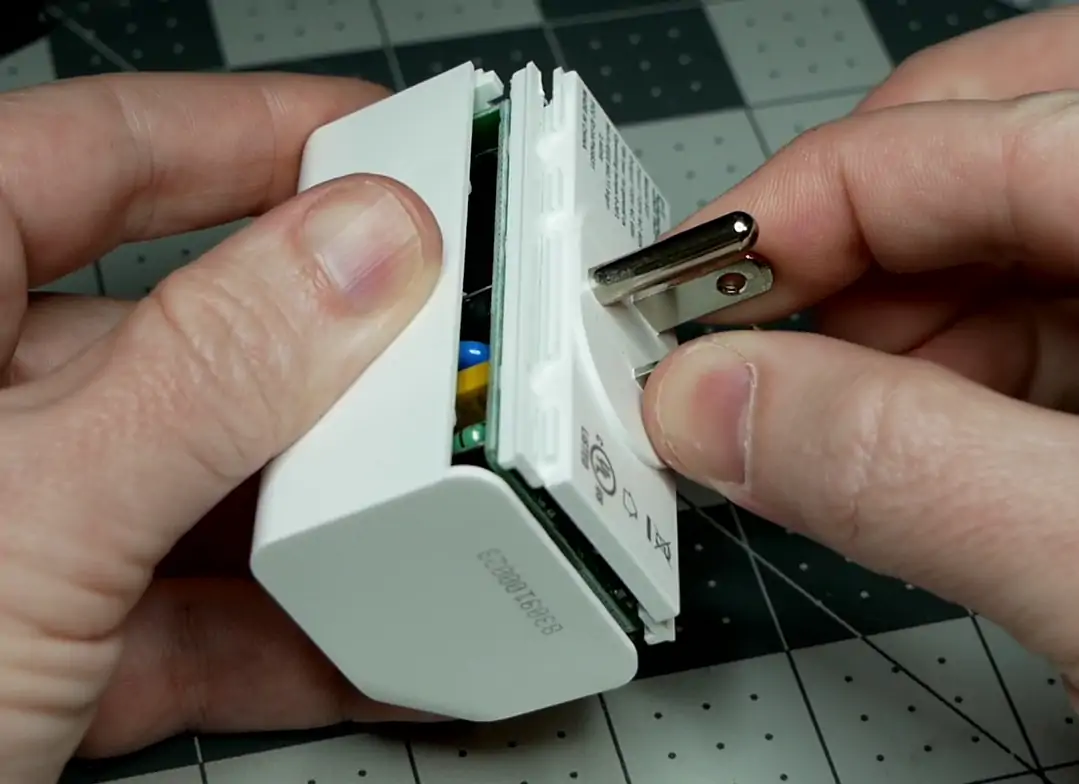
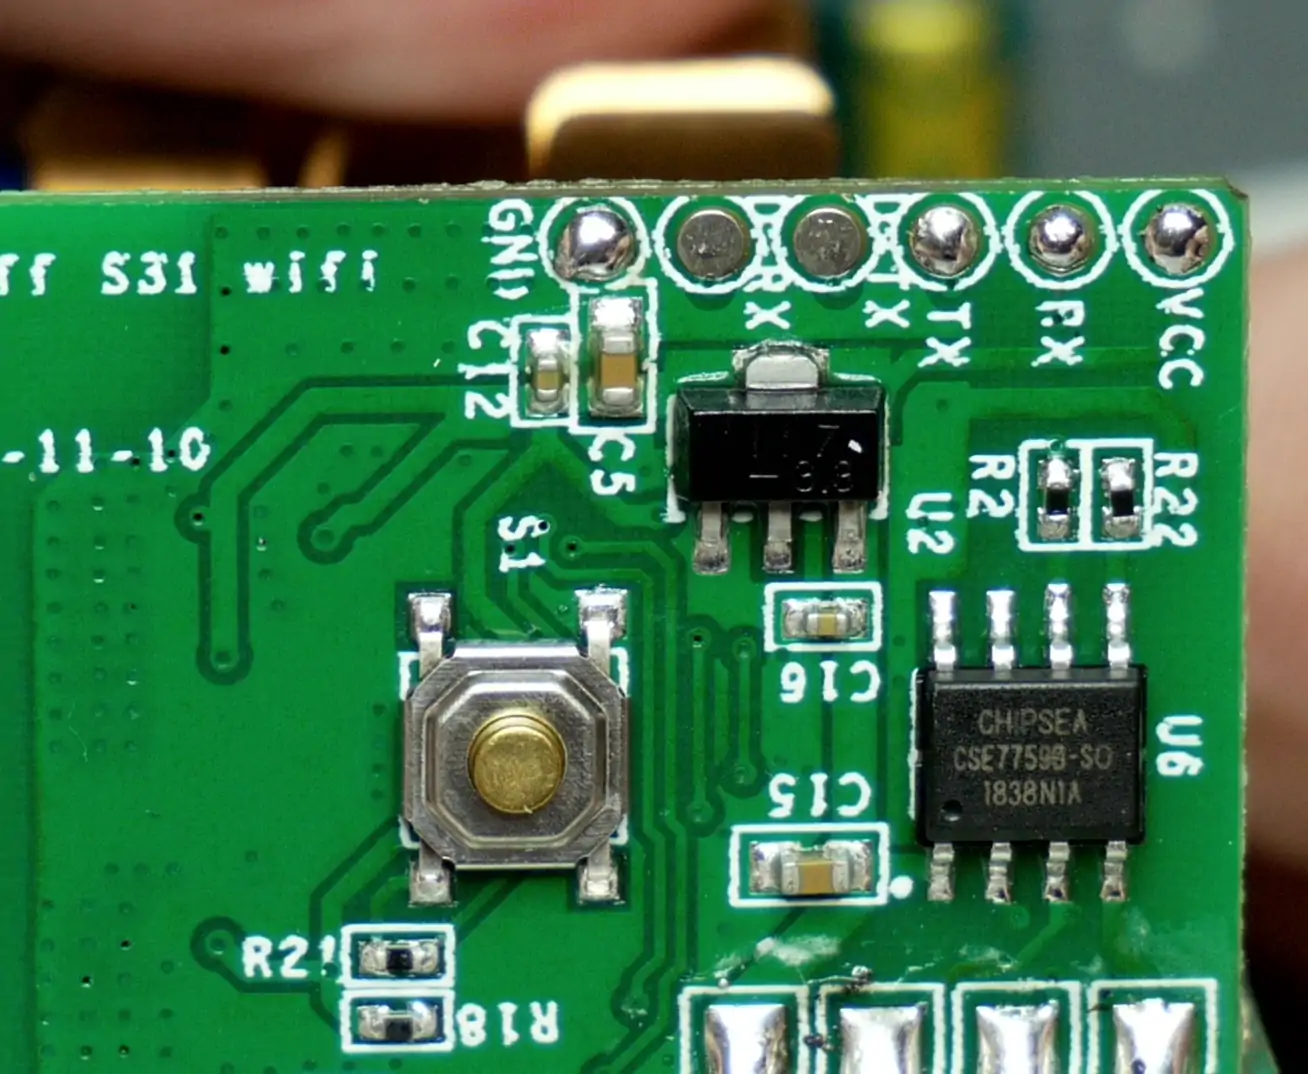
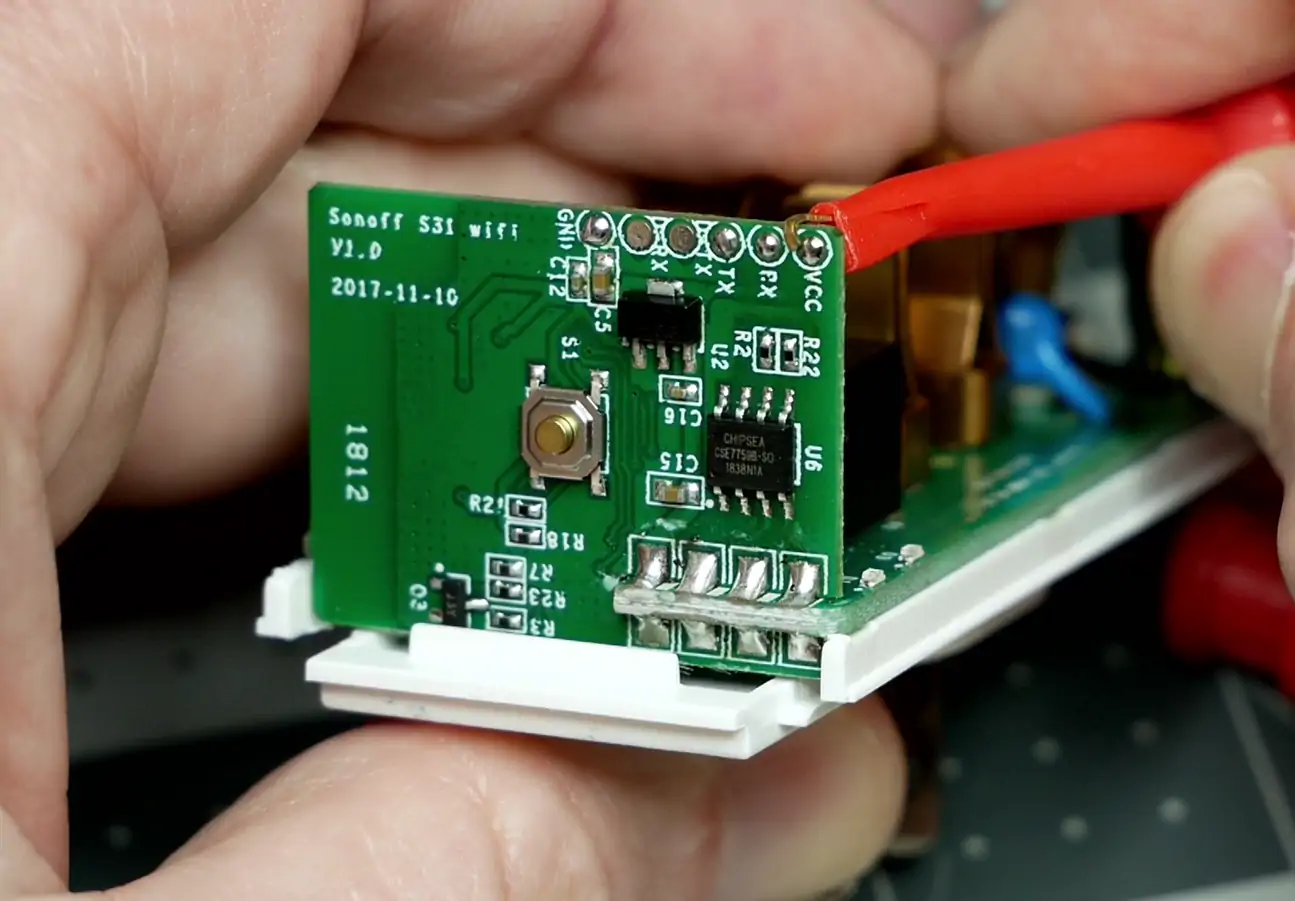
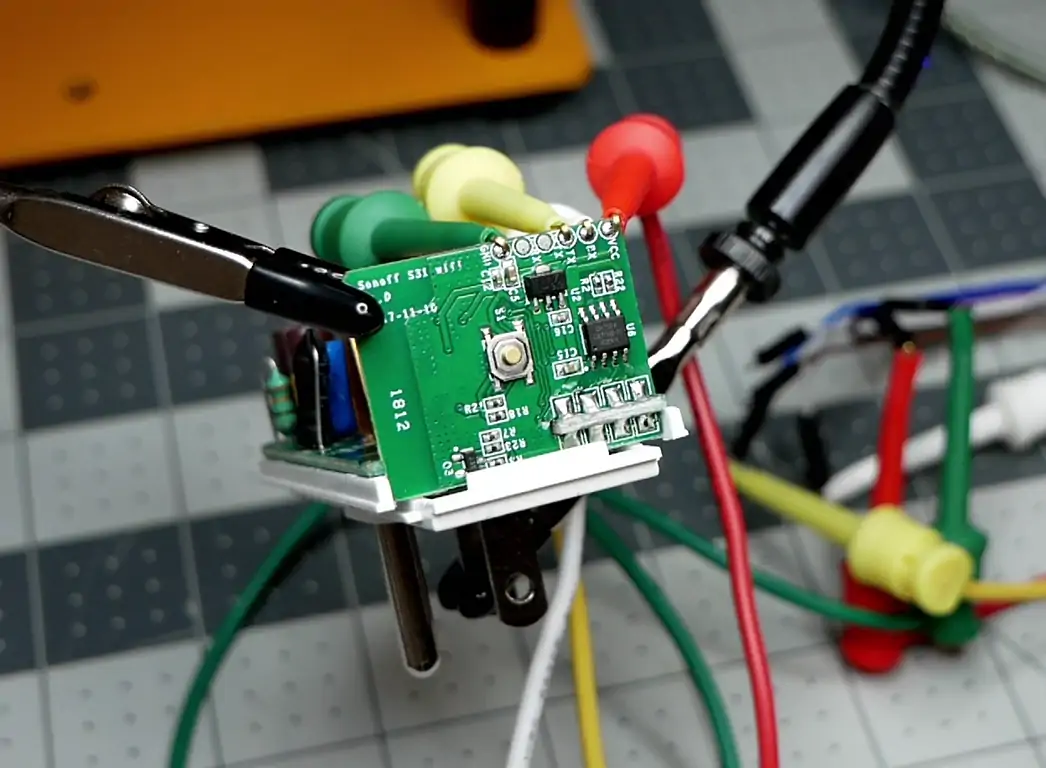
One of the top favorite smart plugs. Easy to disassemble with a screw driver, exposed pin headers to the ESP8266, button on GPIO 0, and excellent power monitoring! You can even flash it without soldering utilizing a USB TTL adapter and dupont test clips known as clippy bois - see the pics section below.
Purchase on Amazon Amazon
Purchase on iTead iTead
Purchase on Aliexpress Aliexpress
Purchase on CloudFree CloudFree
Video Setup
Tasmota Template
None needed as it is built into TASMOTA. Click Configuration -> Configure Module -> Pick SONOFF S31 and hit Save.

TASMOTA Settings
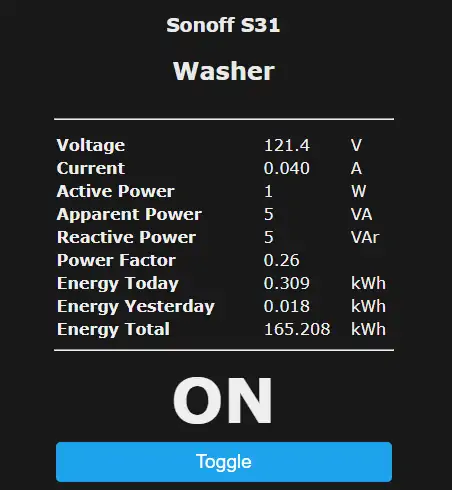
The power calibration for the S31 is usually pretty close on default but it can be fine tuned via Tasmota Calibration Procedure
GPIO Layout
| GPIO | Component | Description |
|---|---|---|
| GPIO00 | Button 1 | |
| GPIO01 | CSE7766 Tx | Power monitoring chip |
| GPIO03 | CSE7766 Rx | Power monitoring chip |
| GPIO12 | Relay1 | Relay for Load |
| GPIO13 | Led_i_1 | Onboard LED |
ESPHome YAML
esphome:
  name: plug-s31-a
  friendly_name: plug-s31-a

esp8266:
  board: esp01_1m
  early_pin_init: false  # Prevent the physical relay flipping on reboot.

logger:
  baud_rate: 0 # (UART logging disabled due to cse7766 power mon chip)
api:
ota:
  platform: esphome
captive_portal:

wifi:
  ssid: !secret wifi_ssid
  password: !secret wifi_password
#  domain: !secret wifi_mydomain
  ap:
    password: !secret ap_password

web_server:

uart:
  rx_pin: RX
  baud_rate: 4800

binary_sensor:
  - platform: gpio
    pin:
      number: GPIO0
      mode: INPUT_PULLUP
      inverted: True
    name: Button
    on_press:
      - switch.toggle: relay

sensor:
  - platform: cse7766
    current:
      name: Amps
      unit_of_measurement: A
      accuracy_decimals: 2
      filters:
        - throttle_average: 10s
    voltage:
      name: Voltage
      unit_of_measurement: V
      accuracy_decimals: 1
      filters:
        - throttle_average: 10s
    power:
      name: Watts
      accuracy_decimals: 0
      id: plug_power
      filters:
        - throttle_average: 10s
  - platform: total_daily_energy
    name: Daily Energy
    power_id: plug_power
    filters:
      - multiply: 0.001 ## convert Wh to kWh
    unit_of_measurement: kWh

switch:
  - platform: gpio
    name: Relay
    pin: GPIO12
    id: relay
    restore_mode: ALWAYS_ON

time:
  - platform: homeassistant
    id: homeassistant_time

status_led:
  pin:
    number: GPIO13
    inverted: True
Pics