You heard right! We show you how to use a wall mounted dimmer to control your smart lights! This gives you the best of both worlds. You can also change the color temperature too with long press actions.
Products Used
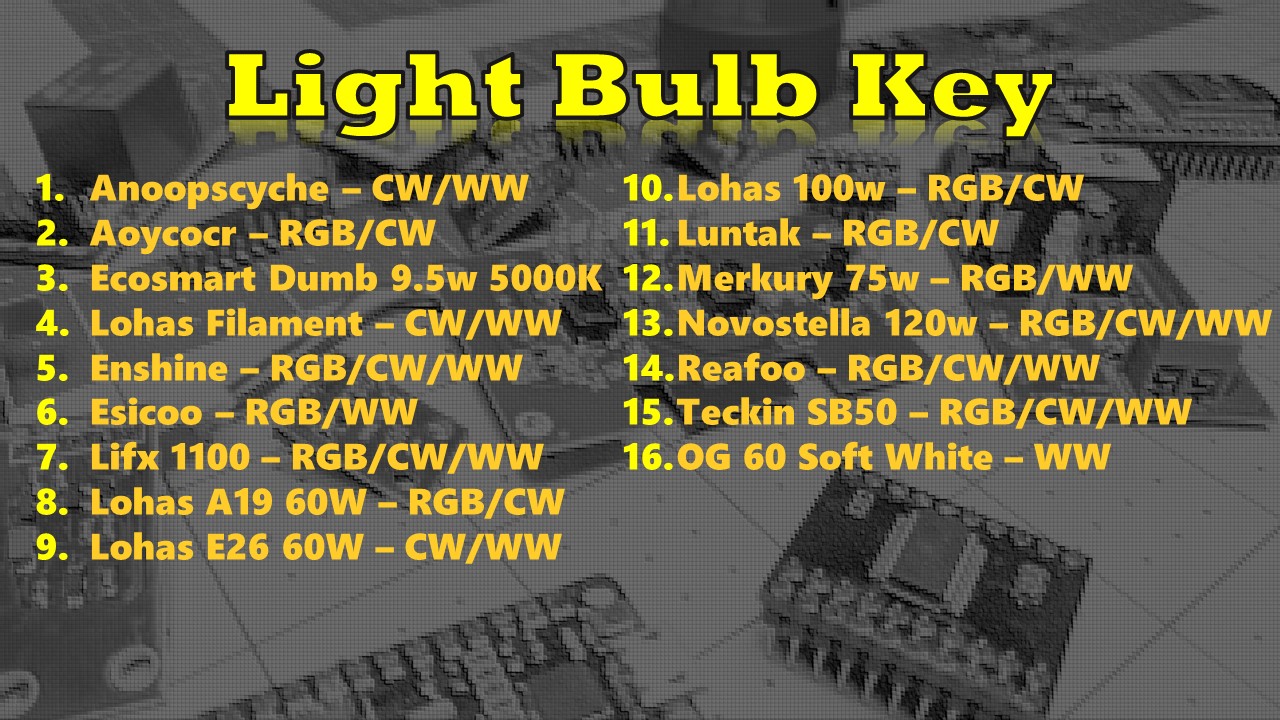
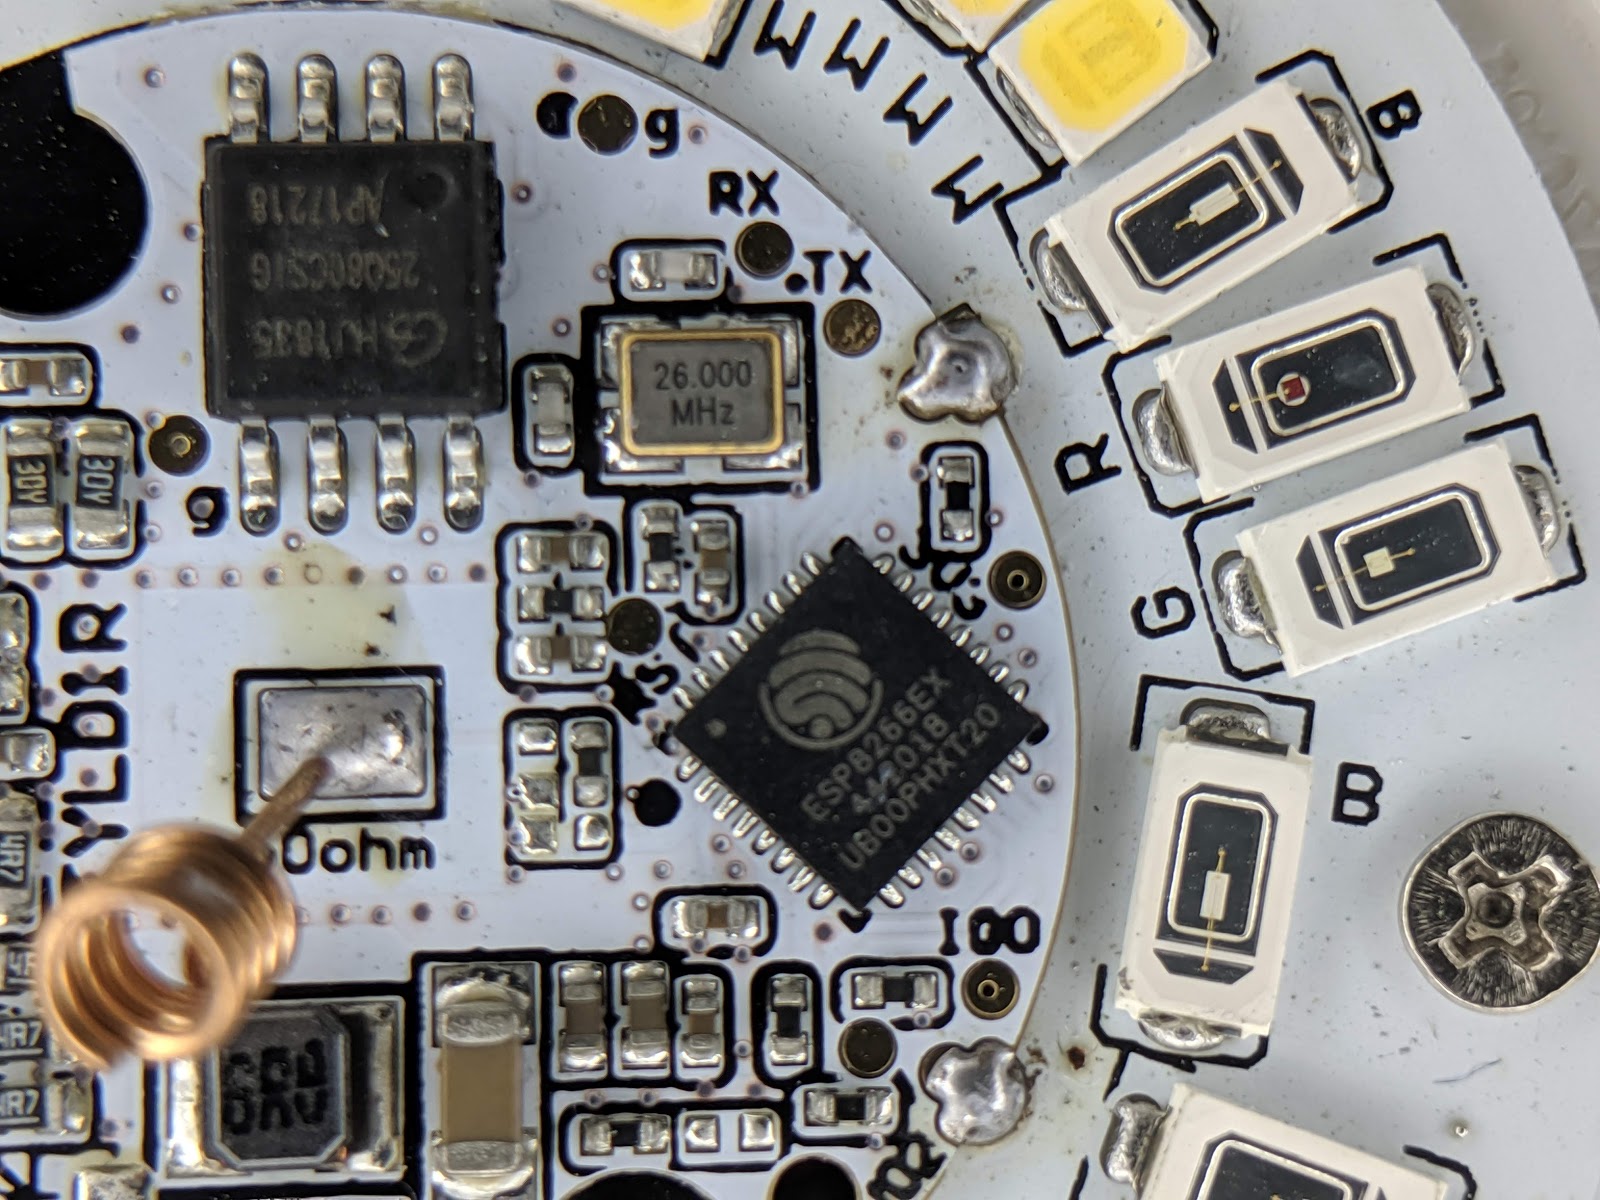
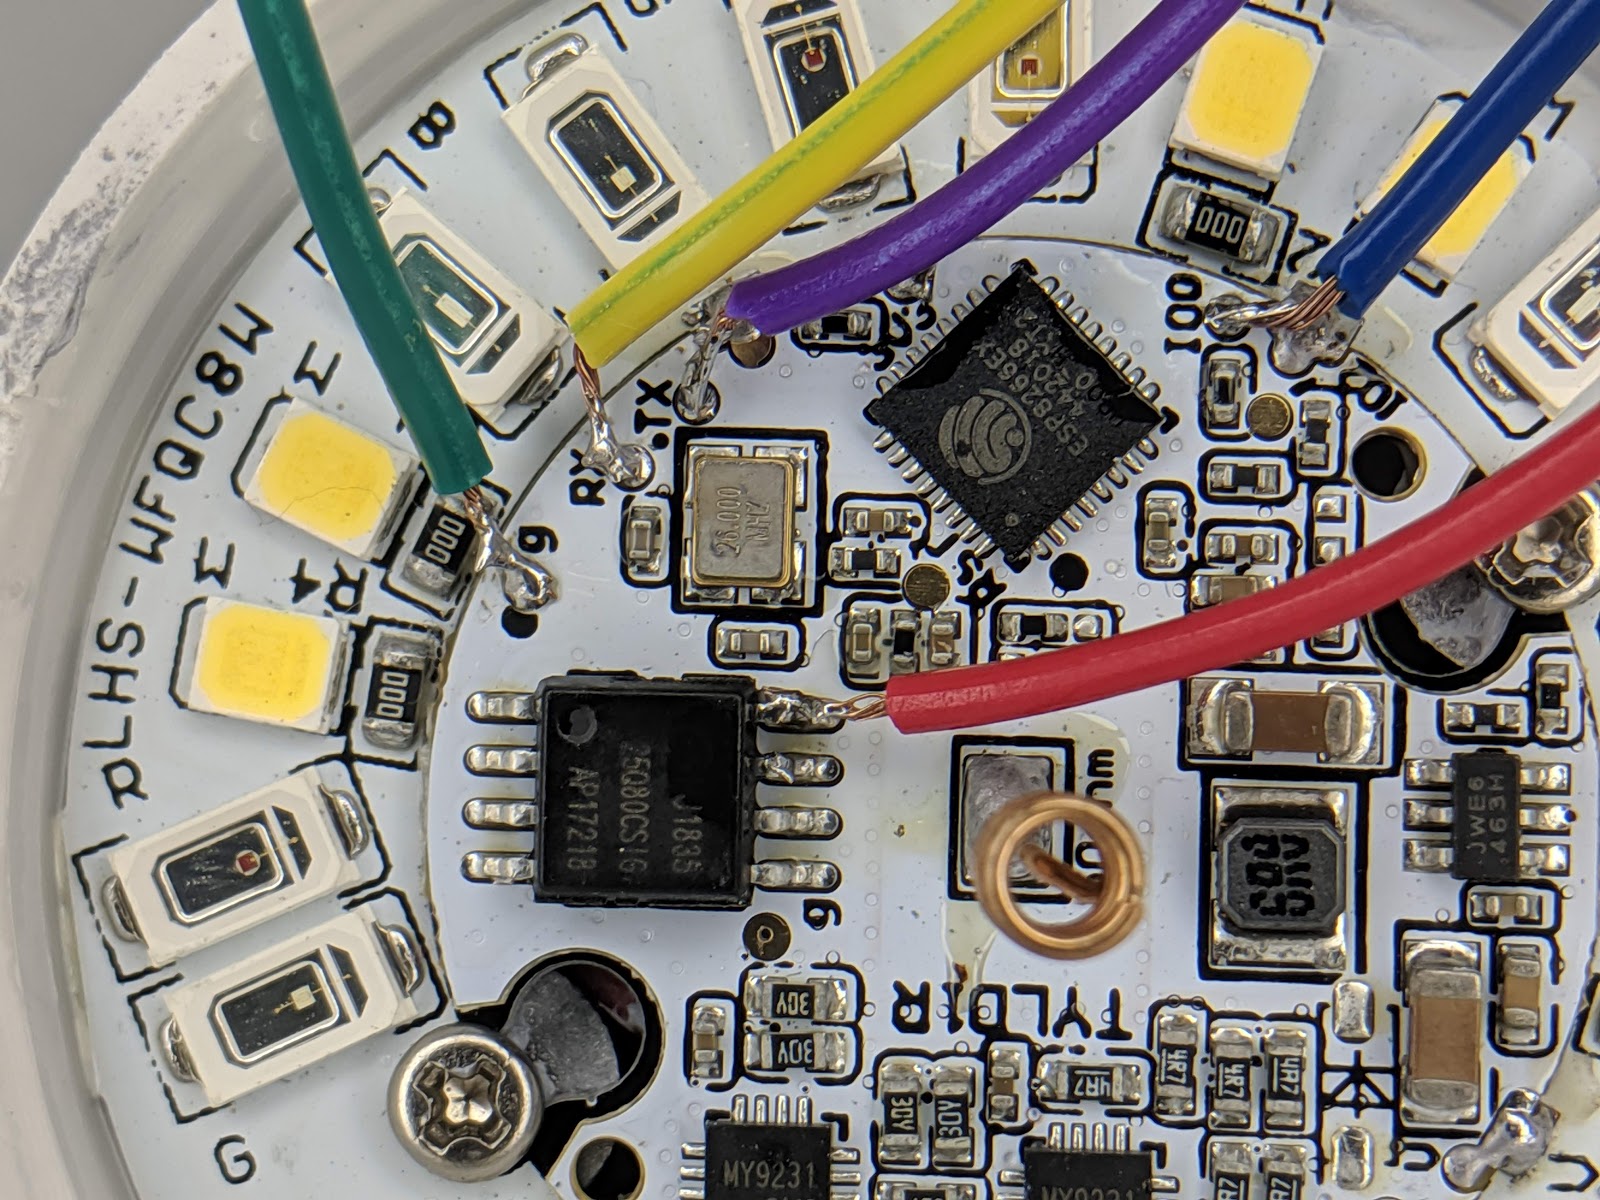
Lohas RGB+CT Lights
MJ Dimmer
Optional Bench Power Tester
Tuya-Convert Process - https://www.youtube.com/watch?v=dyUyewiKpRA
Sample Rules
rule2 on power1#state do publish cmnd/lohastest_new/power %value% endon
on dimmer#state do publish cmnd/lohastest_new/dimmer %value% endon
rule1 on switch3#state=2 do dimmer + endon
on switch2#state=2 do dimmer - endon
on switch2#state=3 do publish cmnd/lohastest_new/ct - endon
on switch3#state=3 do publish cmnd/lohastest_new/ct + endon
rule1 on switch3#state=2 do dimmer + endon
on switch2#state=2 do dimmer - endon
on switch2#state=3 do publish cmnd/lohastest_new/ct 153 endon
on switch3#state=3 do publish cmnd/lohastest_new/ct 500 endon
Get the Products We Use/Recommend
Amazon US - https://amzn.to/2YZNDeO
Amazon UK - https://amzn.to/2TnG2R4
Amazon CA - https://amzn.to/2HchPZe
Come chat and join the community!
Discord - https://discord.gg/bNtTF2v
Patreon - https://www.patreon.com/digiblurDIY