Moes Garage Door Opener - Tasmota
In an upcoming video on the DIY Smart Home series, we planned to "smartify" the garage door and, of course, it had to be local control without all the fees and ever changing nonsense and security issues that the cloud brings. One option we picked up was using the Sonoff SV to try, but as an alternative the Moes version of the garage door opener is easy to install. Out of the box it does come with Tuya/Smart Life firmware, but of course we wanted to get rid of that, and put open source local control software such as Tasmota on it. Moes Garage Door Opener on Amazon

At first glance you might be thinking that someone simply took a Sonoff basic, added a couple wires, and repackaged it; unfortunately that isn't true. If it was as easy as a Sonoff Basic, we probably wouldn't be writing this article on how to get it to work with Tasmota. It does have a Tuya module inside, and as of the writing of this article, Tuya-Convert does work on the device. But before I was quick to convert it, I decided to pop it open and found that it was sporting a TuyaMCU onboard! I had this funny feeling they were doing something odd and decided to do a bit of sniffing on the TuyaMCU RX/TX serial lines first, and I was glad I did! So after a couple of Live Streams on YouTube of the process, and banging my head against the wall a bit, I present to you the rules necessary to set this little guy up.
Live Stream #1 & Live Stream #2 on YouTube
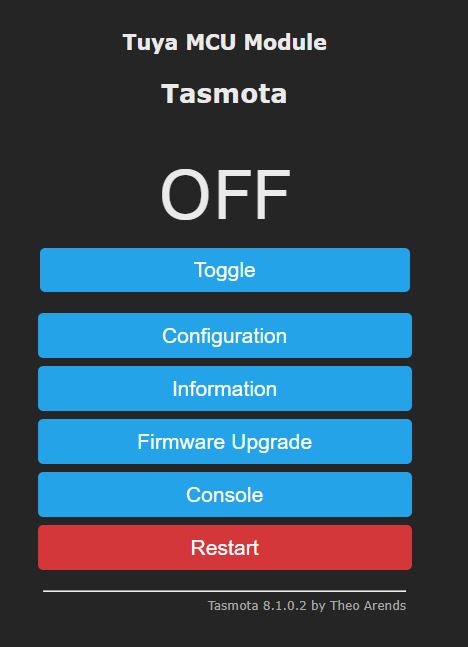
Flash the device with either soldering to the chip via USB TTL and Tasmotizer, or use Tuya-Convert. Do the dance to get the device on your WiFi like you normally would, and browse to the Tasmota GUI using the local IP of the device found from your Router/DHCP Server. As always upgrade to teh latest Tasmota by utilizing the Firmware Upgrade button in the GUI. Configure your MQTT Broker and Custom Topic like you normally would, then click the Console Button and paste these commands in one by one:
template {"NAME":"Moes Garage","GPIO":\[255,148,255,149,255,255,255,255,255,255,21,255,255\],"FLAG":15,"BASE":18}
module 0
At this point, the device should reboot. Now you might be thinking “Why don't we just use TuyaMCU built into Tasmota?” The problem with that is during any reboot of the device, it was cycling the relay which could cause your garage door to open at 3 AM! So we do it raw, plus add a few features! Go back to the console of Tasmota, and enter these commands in (be careful to grab the entire rule due to word wrapping):
Rule1 on System#Boot do backlog baudrate 9600 ; serialsend5 55aa000300010407 ; serialsend5 55AA0008000007 ; ruletimer1 10 endon on rules#timer=1 do backlog serialsend5 55AA00000000FF ; ruletimer1 10 endon
Rule1 1
This rule sets up the serial communication at boot, sets the LED, sends a command to query the state of the reed switch (i.e., garage door position) in case it changed while the power was off, and then sets up the 10 second heartbeat packet the TuyaMCU requires.
Rule2 on event#doortoggle do serialsend5 55AA0006000501010001000D endon
Rule2 1
This creates an event that is sent from your home automation software (via MQTT) to toggle the relay which opens/closes the garage door. OK, now for the last rule, and this all on one line!
Rule3 on SerialReceived#Data=55AA0307000565010001007555AA03070005010100010011 do power1 1 endon on SerialReceived#Data=55AA0307000501010001001155AA0307000807020004000000001E55AA03070005650100010075 do power1 1 endon on SerialReceived#Data=55AA0307000565010001017655AA03070005010100010112 do power1 0 endon on SerialReceived#Data=55AA0307000501010001011255AA0307000807020004000000001E55AA03070005650100010176 do power1 0 endon
Rule3 1
This rule watches the TuyaMCU packets for the garage door state (open or closed) via the magnetic reed switch attached to the door. This rule toggles the fake relay on the Tasmota GUI and can be monitored via the power1 MQTT topic.
powerretain 1
Makes the state of the door being open or closed be retained during a Home Assistant reboot.
Restart the Garage Door Opener. You can use the Restart button on the GUI of Tasmota.
View on Amazon - Moes Garage Door Opener
But wait . . . can't we do this without all these serial rules on Tasmota with a Sonoff SV? Absolutely! But you do have to remember this is an alternative solution that is ready to go in the case, without any wire soldering, 3D printed cases, etc. Options for everyone, choose the one that best fits your needs.
Home Assistant Sample Configurations
Modify the “GarageDoor” topic below to match the unique topic set in the Tasmota MQTT Configuration:
cover:
- platform: mqtt
name: "Garage Door"
command_topic: "cmnd/GarageDoor/event"
state_topic: "stat/GarageDoor/POWER"
availability_topic: "tele/GarageDoor/LWT"
qos: 1
payload_available: "Online"
payload_not_available: "Offline"
payload_open: "doortoggle"
payload_close: "doortoggle"
payload_stop: "doortoggle"
state_open: "OFF"
state_closed: "ON"
device_class: garage
Swap the states of OFF/ON if your status is backwards depending on how the sensor is used/mounted.
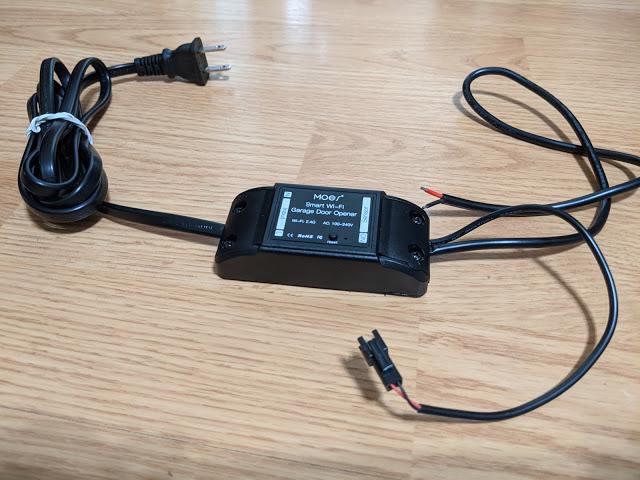
Moes Garage Door Opener

Door Sensor and Wire

Accessories for Installation Included