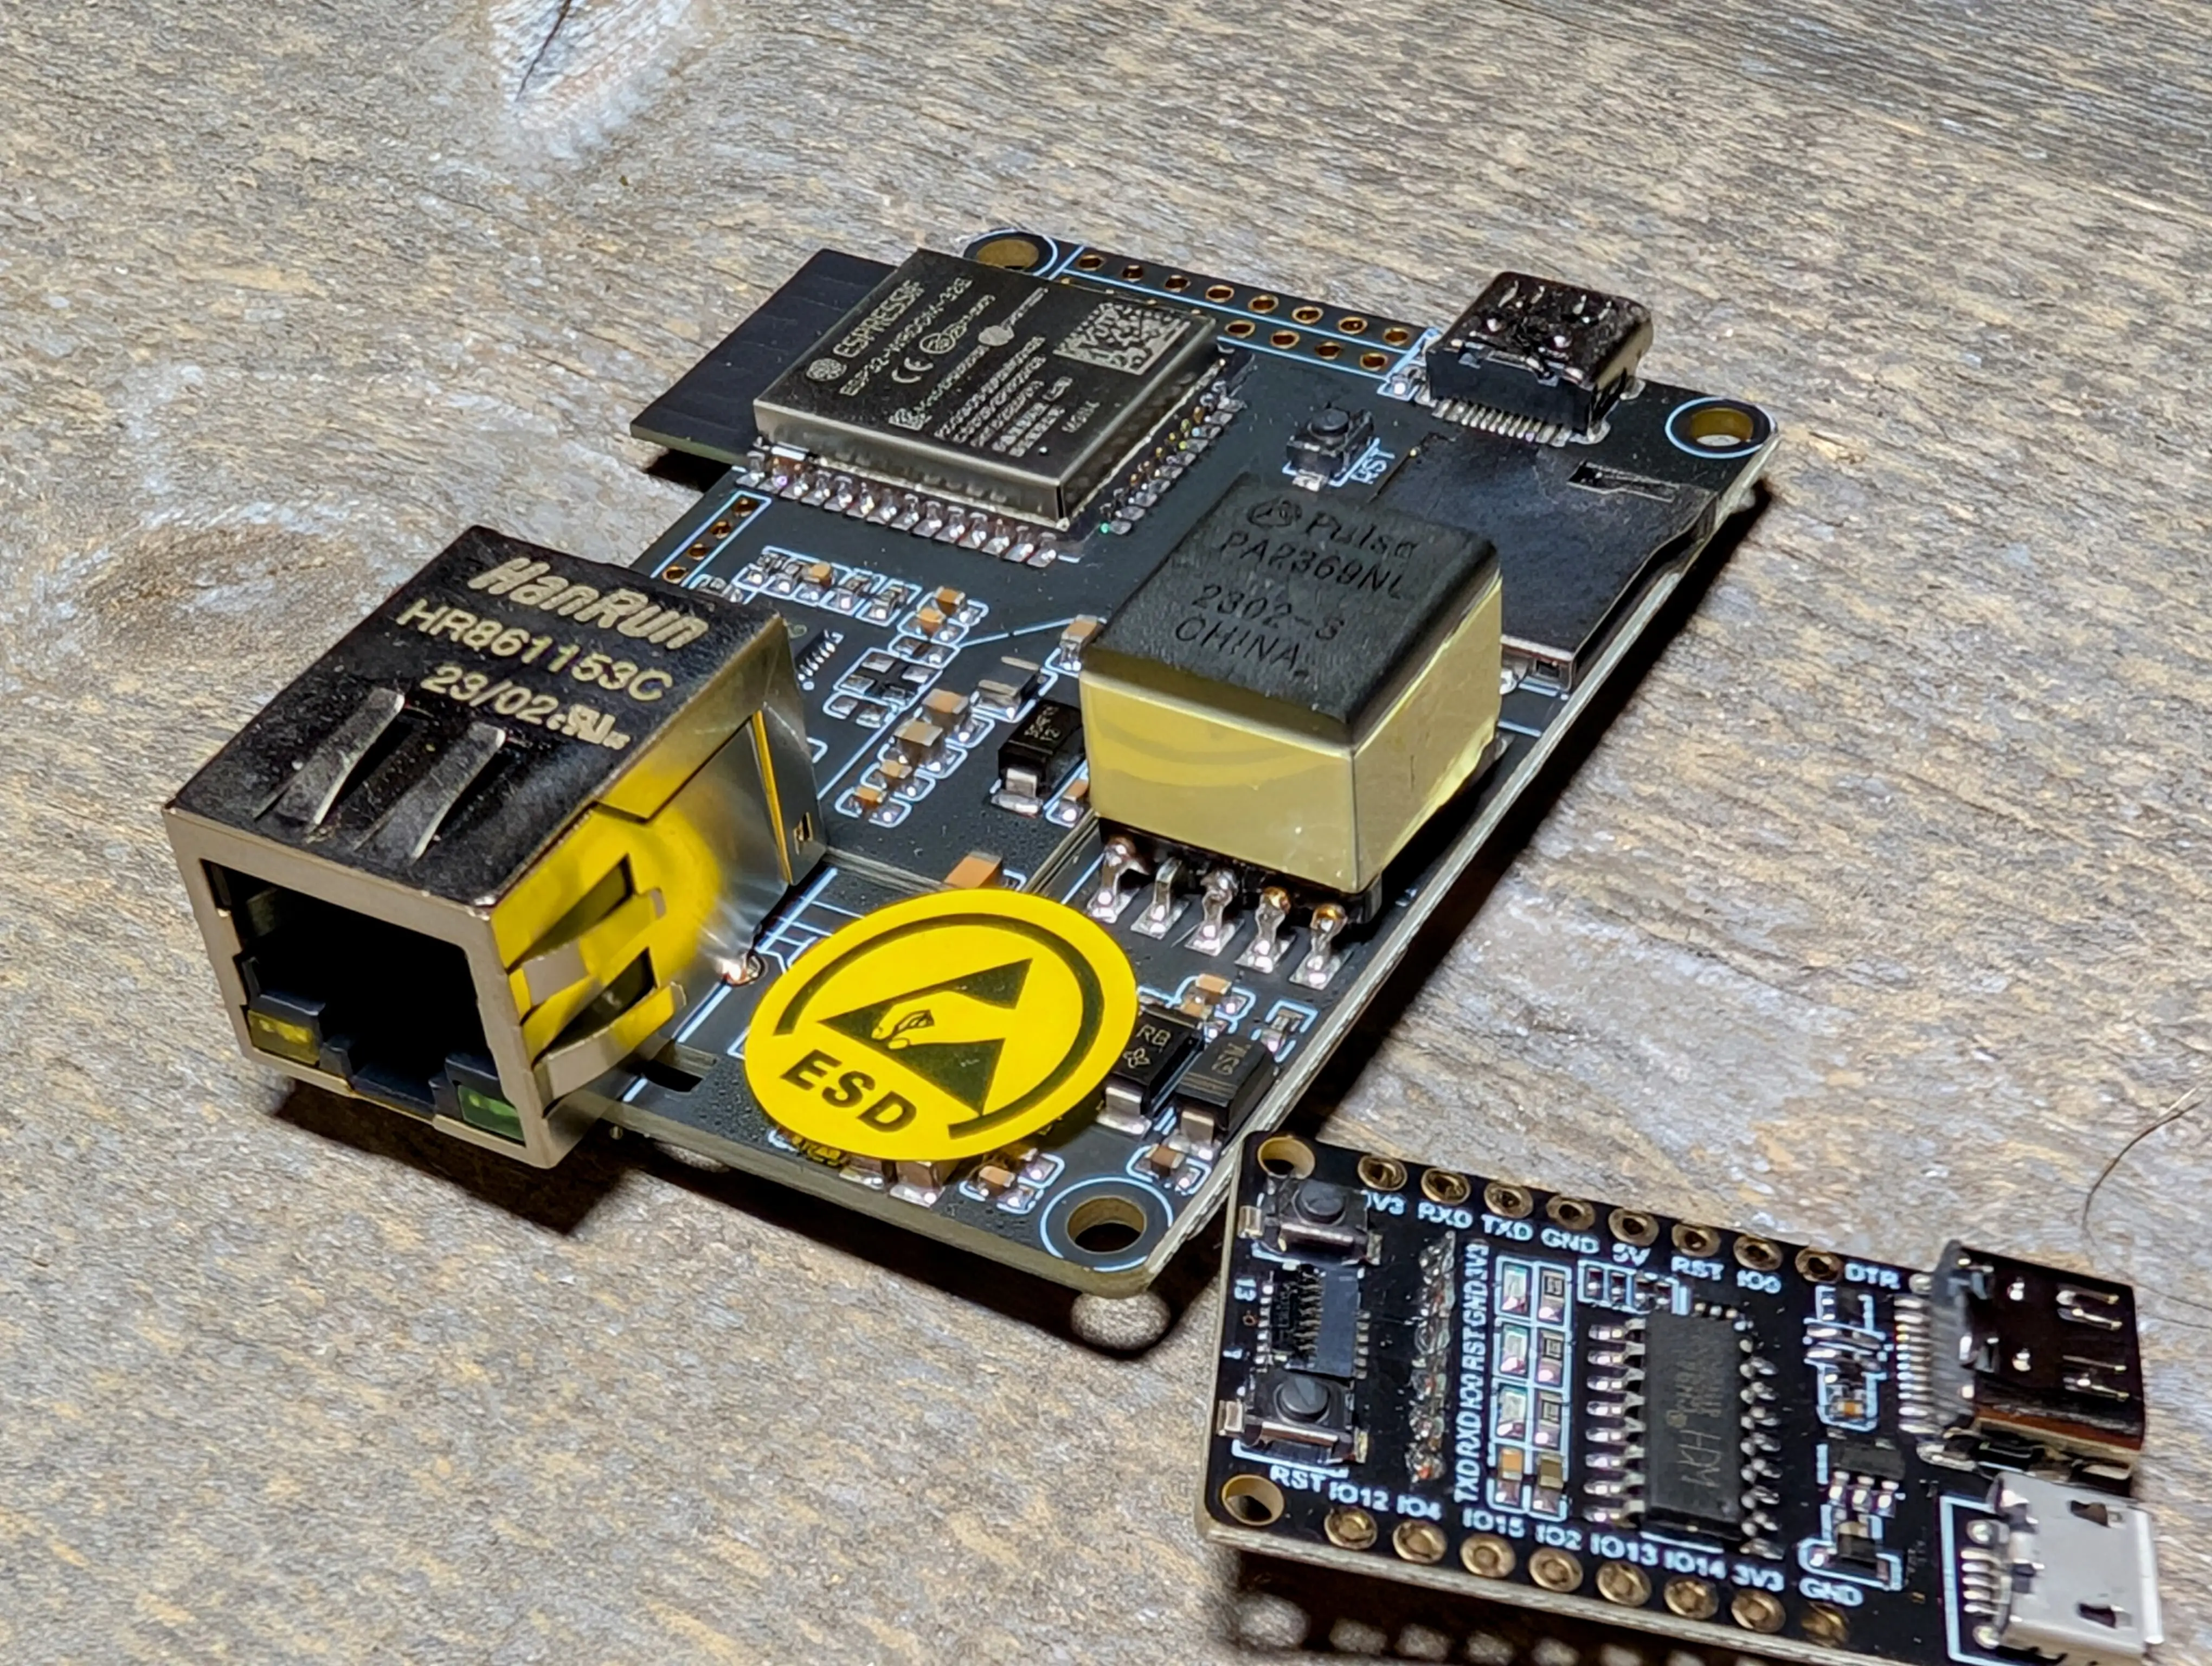
ESPHome YAML Configuration to create an LILYGO T-Internet-POE ESP32 ESP32 (original Dual Core chip) Home Assistant Bluetooth Active Proxy all over Ethernet with power. Bluetooth and Wi-Fi are both 2.4ghz so why not cut down on some of that traffic right? In layman's terms, it is a remote network attached Bluetooth adapter Home Assistant can use to communicate with Bluetooth devices. For instance, put one in your backyard to pick up temperature sensors in the pool and greenhouse; list of Bluetooth Compatible Devices

For proper installation procedures remember to do a Factory format/modern install of the ESPHome bin file created. Additional info on the ESPHome ESP32 Install Procedures

Purchase the LilyGo T-Internet from Amazon or Aliexpress (affiliate) - be sure to select the version with the Suit for easier flashing!

Need a case for it? 3D Printer STL File

LILYGO T-Internet-POE YAML

esphome:
name: esp32-lilypoe-btproxy
friendly_name: esp32-lilypoe-btproxy

esp32:
board: esp32dev
framework:
type: esp-idf

logger:
# level: VERY_VERBOSE
api:
ota:
- platform: esphome

esp32_ble_tracker:
scan_parameters:
interval: 1100ms
window: 1100ms
active: true

bluetooth_proxy:
active: true
cache_services: true

button:
- platform: safe_mode
name: (Safe Mode)
entity_category: diagnostic

ethernet:
type: LAN8720
mdc_pin: GPIO23
mdio_pin: GPIO18
clk_mode: GPIO17_OUT
phy_addr: 0
# Change the ethernet config to a static IP if needed
# manual_ip:
# static_ip: 192.168.12.23
# gateway: 192.168.12.1
# subnet: 255.255.255.0
# dns1: 192.168.12.1

digiblur

What is the Emporia Vue?

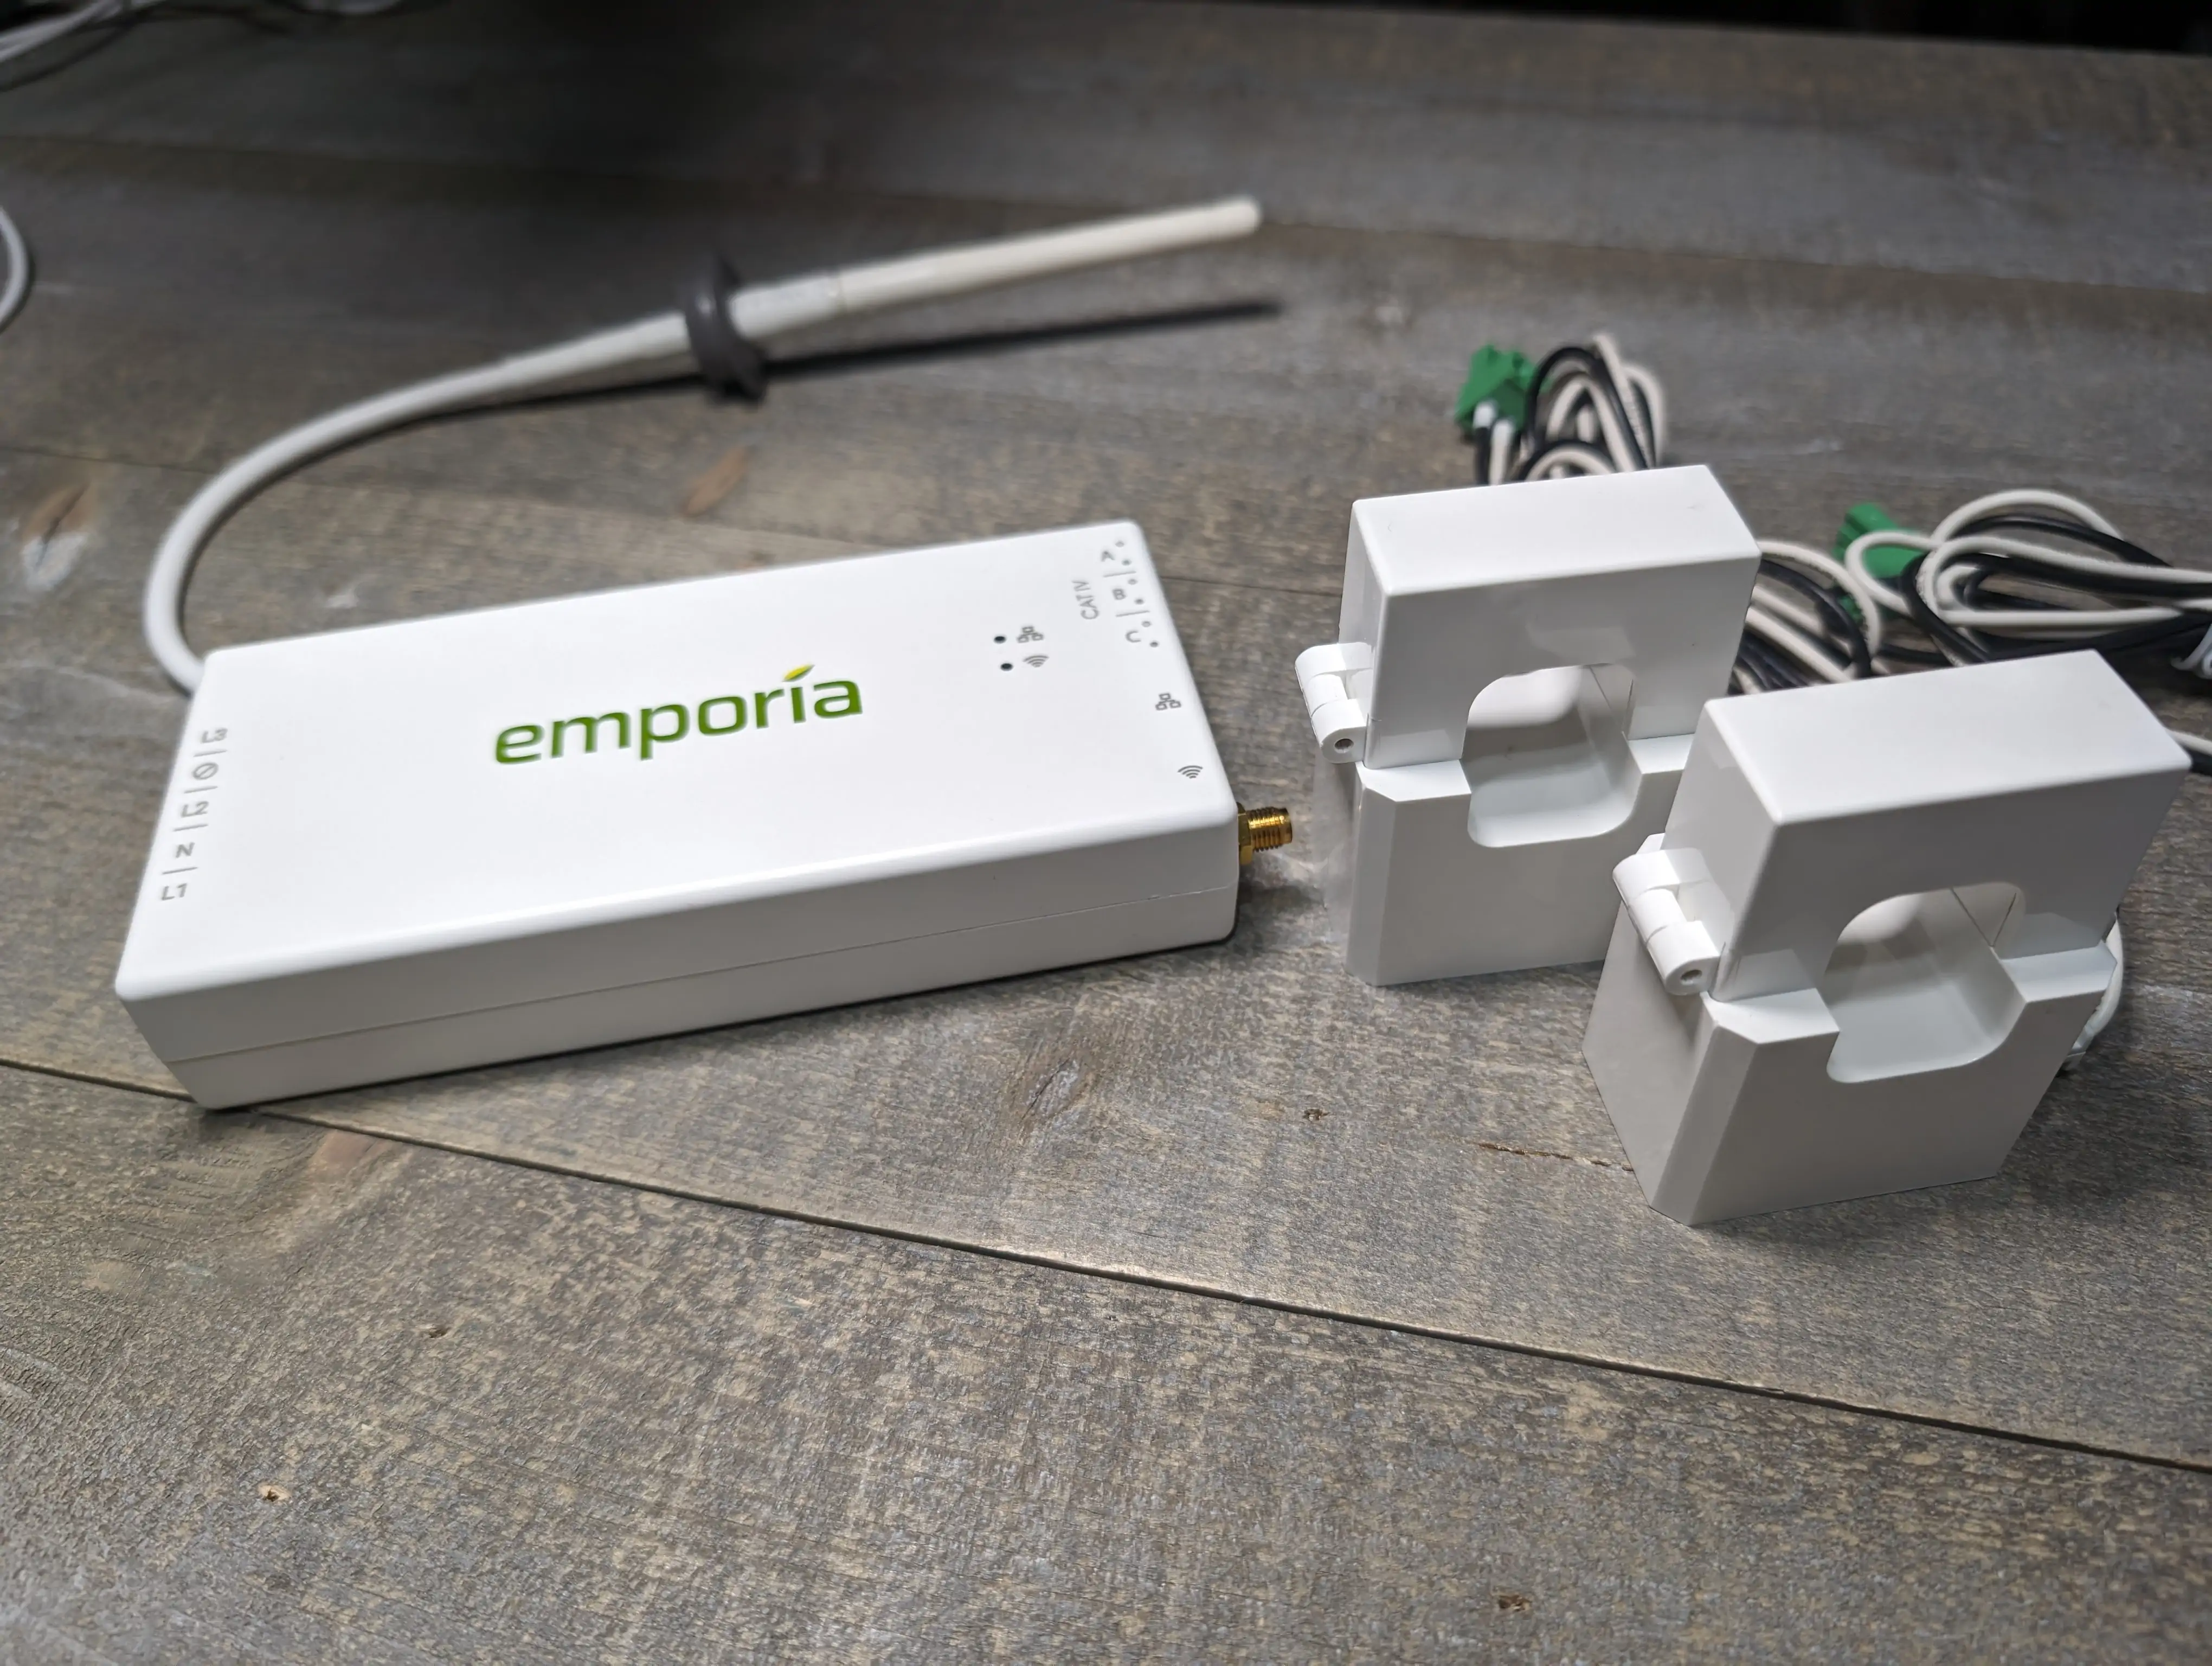
We've covered the Gen 2 model in the previous video, but in a quick TL;DR. It's a box that goes in your breaker panel to measure the entire power usage in your home as well as breaking it down to 16 other circuits in your home for a more detailed usage. This isn't any AI, or guess work involved like other brands, it measures the real world usage of each of the 16 circuits you install the clamps on in the breaker panel.

Out of the box the unit is cloud only and feeds your data to another company for use! That's not what we want, it's our electricity usage pattern data! We want it in house and local! Luckily the Gen 3 contains an ESP32 just like the previous Gen 2 model.

alt text

What is the Gen 3 all about?

Purchase on Amazon (affiliate) - https://amzn.to/3wMOcKv
Purchase from Emporia - https://shop.emporiaenergy.com/collections/in-panel-energy-monitors

Pay attention to the models, there are 3 packages with 0, 8, and 16 additional CT clamps included.

As we stated above, the Gen 3 comes with an ESP32 again and actually the same power monitoring chips. They've only decreased the size in the board itself while changing all 2.5mm/3.5mm CT clamp plugs to Phoenix style plugs. This means you can now easily cut your CT clamp plugs to length instead of having miles of extra wire to deal with. Probably a good idea to crimp ferrules on them again though after you cut them.

Emporia also added an Ethenet connection, but I'm not comfortable nor do I think my local code allows low voltage to mix with high voltage. I'll stick to Wi-Fi as the antenna is provided with the punchout plug to stick out of the metal panel.
alt text

Can I put ESPHome on it?

Read more 👉👇

digiblur

alt text

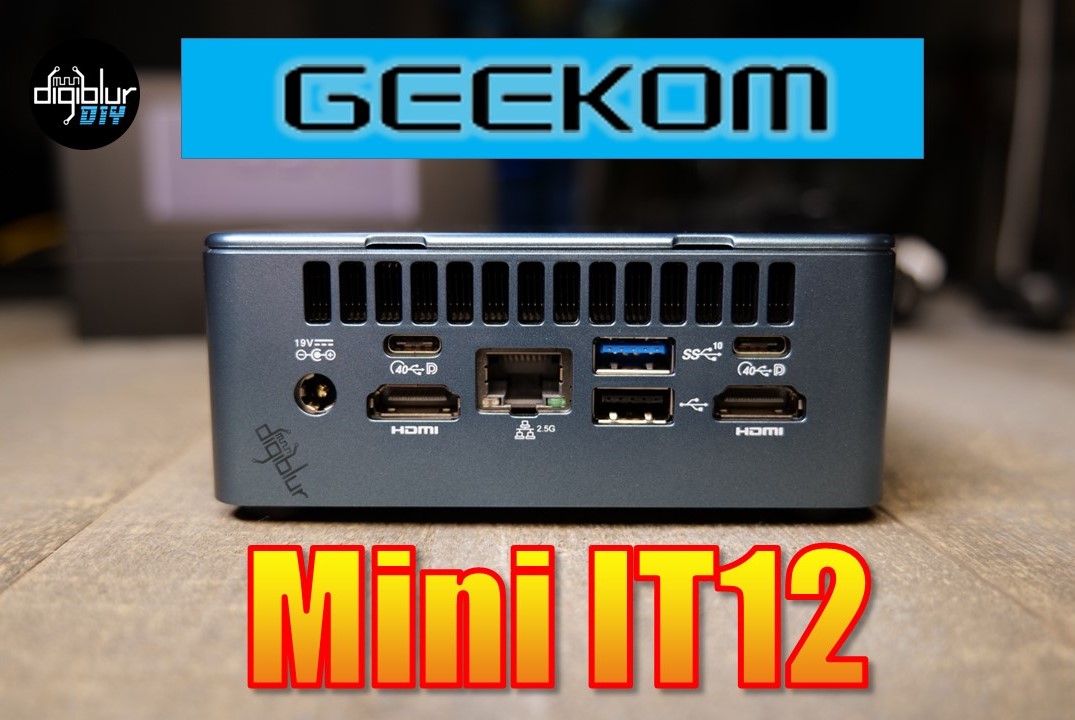
I have used a Geekom Mini PC, or as some people call them NUCs but that's term that seems have caught on like everyone calls tissues, Kleenex. So back to it, my previous model i5 8th Gen runs my various ADSB and video transcoding docker containers on a Debian OS for a couple years now without issue. This newer model packs a bigger punch bringing an i7 12th Gen to the table, more than doubling the performance.

Geekom did send this product for review but no funds were exchanged for this review and the opinions and thoughts are purely mine without any editorial review. I mean how many things I did spell wrong?

Specs wise in the model I received are as follows:

  • i7-1260P CPU/iGPU
  • 2x8GB DDR (16GB total)
  • 512GB NVME
  • Intel Wi-Fi 6E AX211 with Bluetooth 5.2
  • Intel i255-V 2.5 gigabit Ethernet
  • Windows 11 Pro Pre-Installed

Purchase yours from Geekom Directly or on Amazon (affiliate links)

During my testing I used Windows 11, but I did re-install it fresh from a legit copy from Microsoft's site. Nothing against Geekom, as even if I had a brand-new mainstream Dell computer, I would still load my own fresh copy of Windows. Being the powerhouse this thing is, it is stupid fast to boot up Windows in seconds and handle all your regular desktop PC tasks with ease. I did have one issue with the CPU throttling during testing. This might be due to the processor model itself but I do not have another exact model to test it against for comparison. More about this in the screenshots towards the end of the article.

Would I use this with Home Assistant OS? LOL Probably not as it would be a major waste of CPU, it sure would compile an ESP32 bin on ESPHome crazy fast though! What would I use this for if I was not going to do the typical Windows desktop thing? One killer use would be a media player and mount it behind a TV and use a wireless pointer mouse, but many might argue that Roku or other Google TV options are much cheaper. The real usage that I believe several of us would agree on, use it with a Linux build of some sort! Proxmox to do all the things or even just running Debian on it with Docker Compose to handle all of your self-hosting needs.

My use case for this? I believe it is time to dive into Proxmox again, it has a been a few years since I have dabbled in it and I feel this would be perfect to learn more about Proxmox. Where's tteckster when I need him?!

Power Usage

Being a mobile style processor I was pretty impressed with the power usage. Inside Windows Measured with a Kill A Watt Meter

StateWatts
Off/Sleeping1.6 watts
Idle at Windows Desktop7 watts
Processing Video via iGPU35 watts
Crunching Video via CPU73 watts
Crunching Video via CPU After Throttling43 watts

Let's look at some teardown/guts pics and then some more words and stuff... because it's Cool & Stuff

Read more 👉👇

digiblur

Full Video

The Why?

Why do we need a bluetooth proxy for Home Assistant? The answer is simple! Sometimes Bluetooth Low-Energy devices have craptastic range. Many of us have spend time, effort, and money to build out excellent Wi-Fi coverage in our homes and even backyards. So why not harness the power of this coverage and use it to communicate with Bluetooth devices. This is exactly what Bluetooth Proxies do! You can put some SwitchBot temperature sensors in the backyard or even a Bluetooth pool sensor in the pool and have all the data automatically brought into Home Assistant. Any many other Bluetooth HA compatible devices. While you can easily place a NodeMCU ESP32 board outdoors to accomplish this, it might not always be ideal for cosmetic reasons or even for water proofing reasons.

Other Bluetooth HA compatible devices FCC ID of 2AUIU-WLPPO1

This is where the Wyze Outdoor Plug comes into play. It's IP64 dual relay plug with power monitoring, LUX sensor and since it has an onboard dual core ESP32 chip we can use it with ESPHome as a bluetooth proxy for Home Assistant. It also comes with a little better quality WiFi/Bluetooth antenna than your standard PCB antenans. And yes, we have a no soldering solution! Let's get started!

Read more 👉

digiblur

***UPDATED Guide to Load ESPHome all over the air on Tuya Beken SmartHome Devices

The entire process we covered 3 or 4 months ago just became 10 times easier thanks to efforts of the Libretiny and Tuya-CloudCutter developers!

Remember the days of Tuya-Convert where you could obtain a Tuya based Wi-Fi Smart device, run a quick exploit via a Raspberry-Pi and load your own copy of Tasmota or ESPHome firmware right on the device? Things were patched unfortunately and then later the chipsets were changed to a Beken based chipset that wouldn't run Tasmota at all. So we resorted to chip swapping with hot air guns, soldering, etc. to install our favorite local & open source firmware on the device. Things are now going full circle again where we can load firmware on the Beken chipsets with an over the air exploit called tuya-cloudcutter It is such an awesome process and down right addictive!. Then the bigger accomplishment is the LibreTiny project has it all working with ESPHome! No additional firmware to learn is awesome especially for the ESPHome veterans! Plus it all integrates with Home Assistant like any other ESPHome device does.

Supported Known TUYA Module List: BK7321N, BK7231T, CB1S, CB2L, CB2S, CB3L, CB3S, CB3SE, CBLC5, CBU, WB2L-M1, WB1S, WB2S, WB3L, WB3S, WBLC5

Overview of the Process

  1. Create the Tuya-Cloudcutter Exploit Device using a Rasperry Pi or other Linux Based setup

  2. Install / Update Tuya-CloudCutter

  3. Install ESPHome Kickstarter firmware on the Device

  4. Use LT Chip Tool to configure the device

  5. Install ESPHome Add-On or Docker Container

  6. Install the ESPHome Firmware and Integrate into Home Assistant

What do you need?

First a device that is Beken based and on the list of exploitable devices with tuya-cloudcutter (more are being added all the time!). In this example I'm using the Globe Motion NightLight Plug Second a laptop, NUC, PC, etc or Raspberry-Pi to run the exploit and also load the ESPHome firmware.

Device I've Cloudcut and put ESPHome on

NightLight Plug WB3S - https://amzn.to/3KC5ajh
XMCosy Landscape Lights - https://amzn.to/44aUONW
Lumary Downlights - https://amzn.to/47HGNKr UltraPro Switch - https://amzn.to/44fI4W7
Xenon Power Strip - https://amzn.to/47P97ea
Cree 5 Button Switch - https://amzn.to/44i15rh
UltraPro Switch - https://amzn.to/3sbh8JQ
Fan/Dimmer Controller - https://amzn.to/3sddaAp
Feit Power Strip - https://amzn.to/45xGlfT

The instructions below are based on using a Raspberry-Pi, if you are using a different computer you will need to adapt by using a different OS flavor but the concept is all the same. If you are more of a full-video type of person and want the complete walk through view the video below.

Full Video

Read more 👉

digiblur

Home Assistant devs have released an official docker container to install the Matter Server necessary for the Matter integration in Home Assistant. No more building your own container since you don't use HAOS! The Python-Matter-Server repo is available on GitHub. This allows you to integrate the various available and upcoming Smart Home Matter devices with Home Assistant no matter what type installation method you use in your home.

Matter Devices - (https://amzn.to/3pm86sB) *affiliate
Matter Certified Device List - (https://csa-iot.org/csa-iot_products/)

Full Video

Installation Methods

IPV6 needs to be enabled on the network adapter used!

UnRaid

Search for Matter Server in the UnRaid CA Apps store - follow the prompts to install the container and make sure it is set to Auto Start.

alt text

Docker Compose

version: '3'
services:
matter-server:
container_name: matter-server
image: ghcr.io/home-assistant-libs/python-matter-server:stable
restart: unless-stopped
security_opt:
- apparmor=unconfined
volumes:
- /opt/matter-server:/data
- /run/dbus:/run/dbus:ro
network_mode: host

Docker Run

mkdir data
docker run -d \
--name matter-server \
--restart=unless-stopped \
--security-opt apparmor=unconfined \
-v $(pwd)/data:/data \
-v /run/dbus:/run/dbus:ro \
--network=host \
ghcr.io/home-assistant-libs/python-matter-server:stable