Treatlife Dual Indoor Dimmable Smart Plug (DP-20) ESP Transplant
Submitted by M.J. Wydra
https://github.com/Tediore
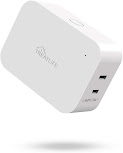
Treatlife released an indoor dual outlet dimmable smart plug in Q4 2020. It ships with a WB3S module which is not compatible with Tasmota but is pin-compatible with the ESP-12 (see the end of this document for a pinout comparison). This means the WB3S can be removed and replaced with an ESP-12 flashed with Tasmota.
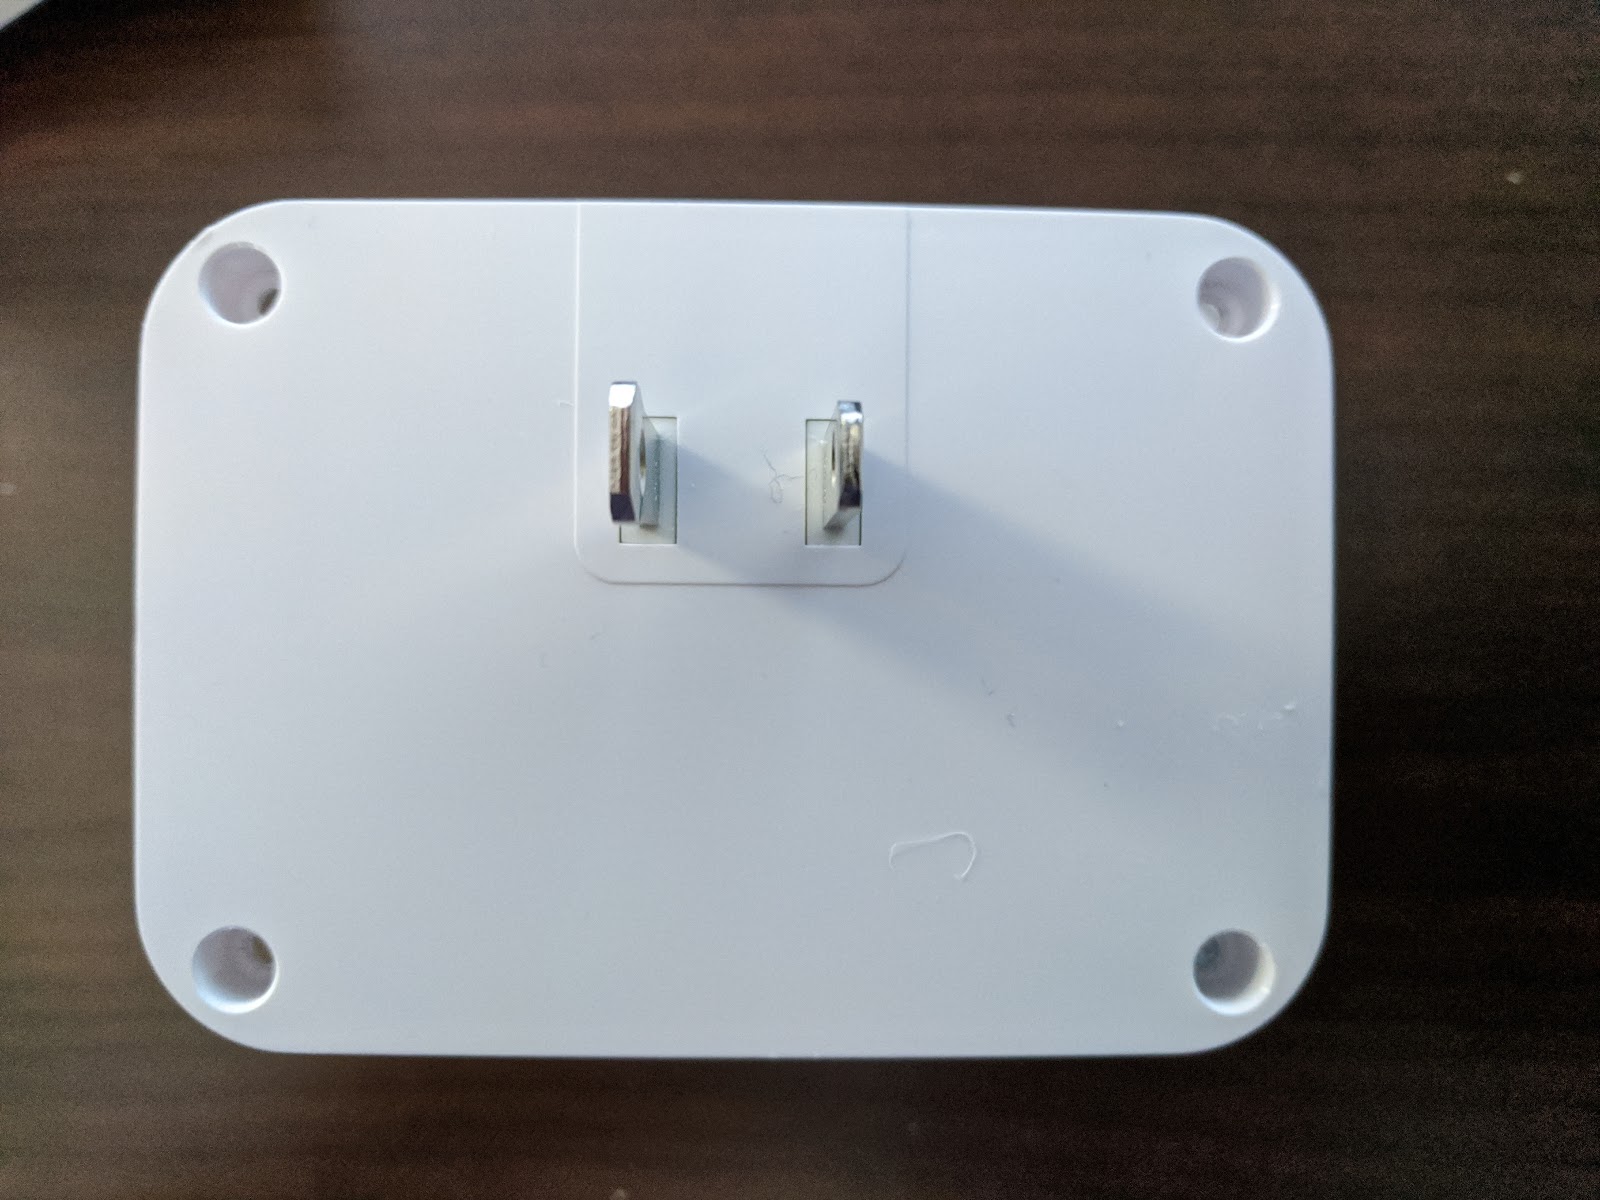
The plug is held together with four screws and some internal clips. Remove the informational sticker on the back to access the four screws. Remove the screws and pry in the gap on the longer sides of the plug to open the plug up.
Unfortunately the plug is equipped with a secondary TuyaMCU (Nuvoton M031EC1AE, pictured to the left of the WB3S). This means the plug will use the Tasmota TuyaMCU module (Module 54) once the WB3S is replaced with an ESP.
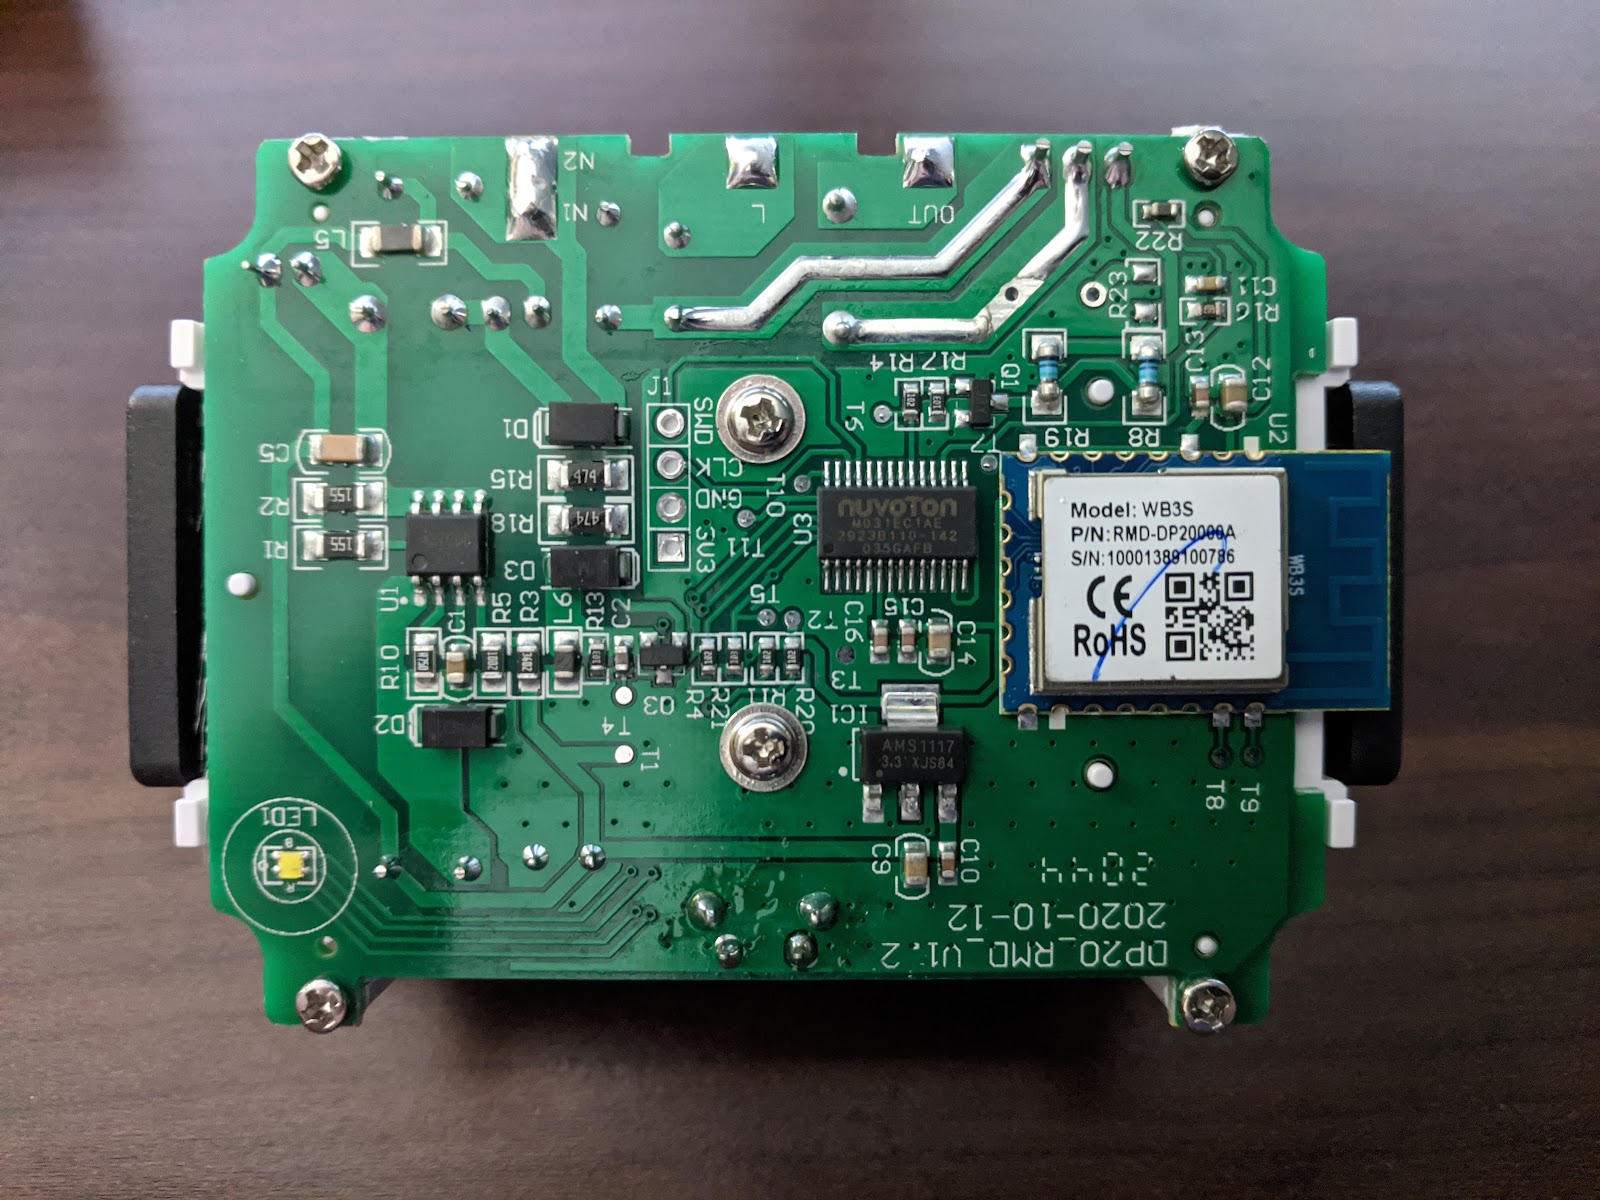

Take care not to remove any of the pads when desoldering the WB3S. I accidentally removed the RX pad on the board when removing the chip (oops). This is a bad situation since this device has a TuyaMCU and relies on a connection between the ESP’s RX TX and the TuyaMCU’s TX RX. If this occurs you can either attempt to repair the connection or solder a wire from RX on the ESP to TX on the Nuvoton MCU. I moved the trace back into its place before soldering the ESP down and miraculously it works, but at some point I might need to open it up to fix it properly.
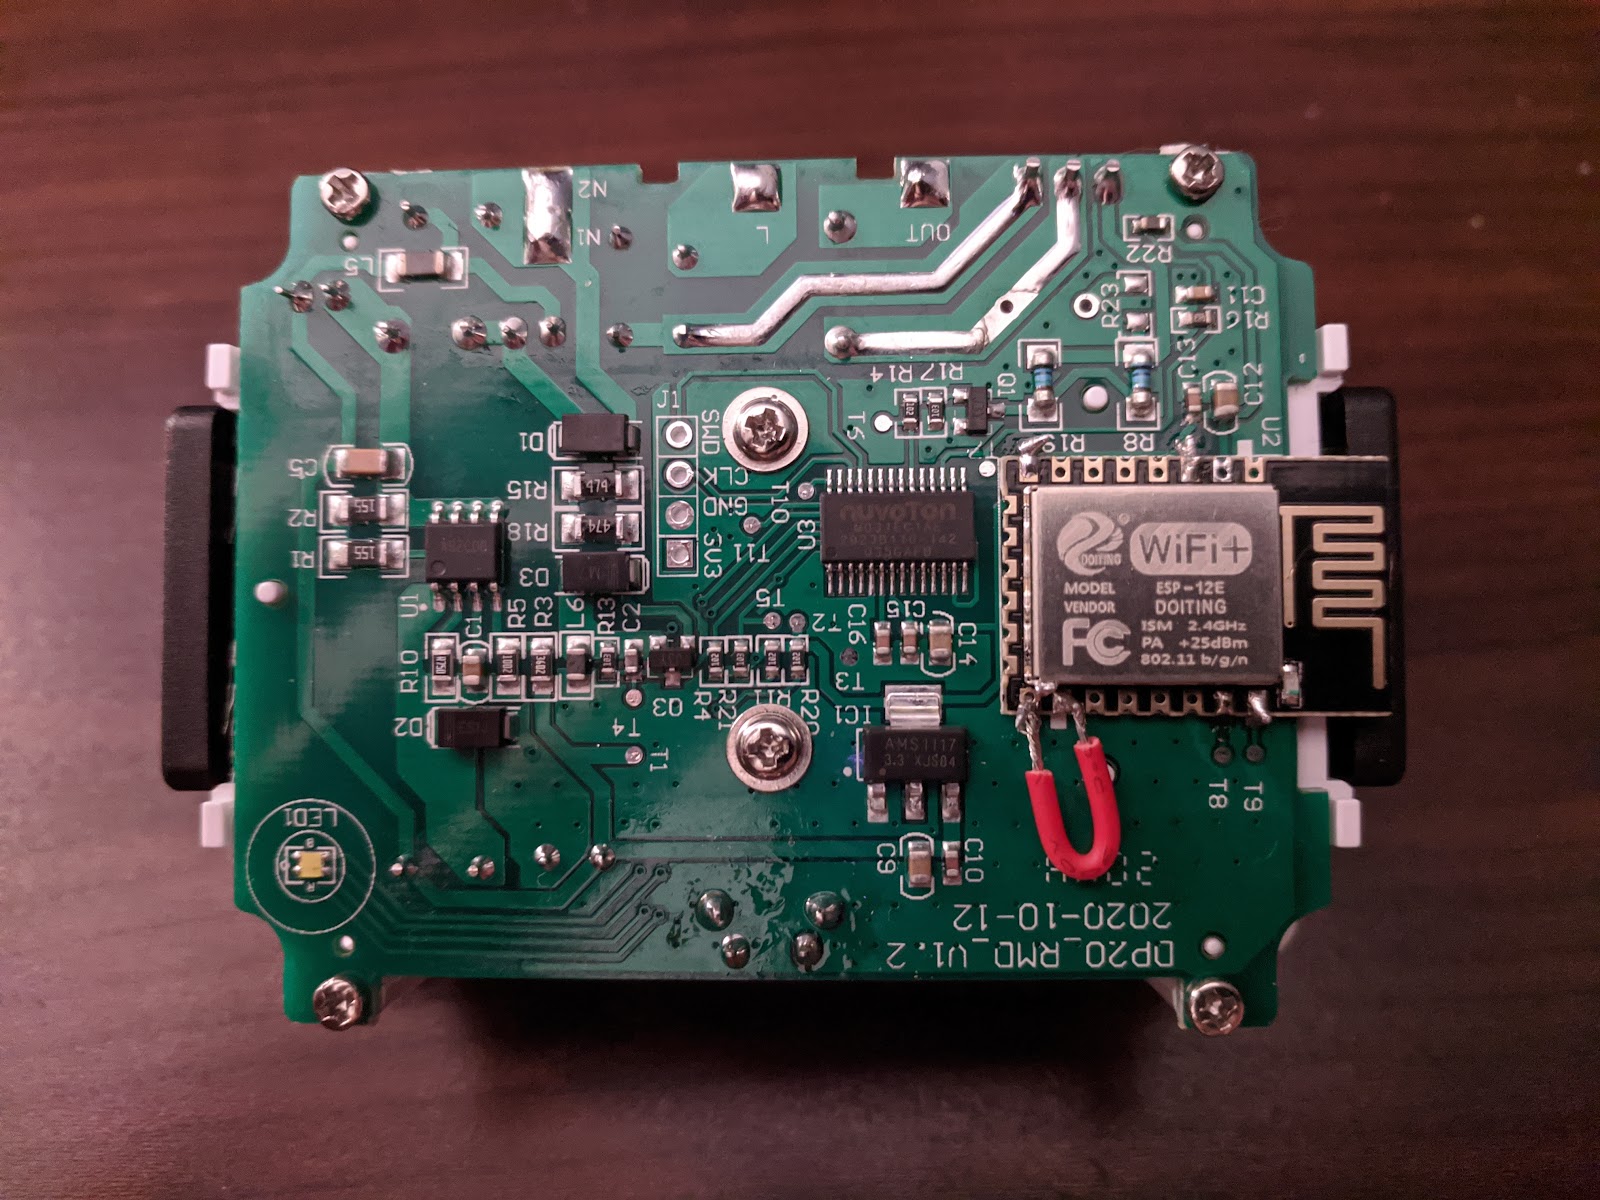
Picture of the final product with an ESP-12 in place of the WB3S. Note the red wire connecting GPIO15 to GND on the ESP. Without this connection the ESP will not boot to normal mode since there’s no pad on the PCB for GPIO15.
A Tasmota Template is not necessary, use the commands below on the Tasmota console.
The commands required to make the device work properly with Tasmota are similar to Treatlife’s DP-10 outdoor dimmer plug:
<table style="border-collapse: collapse; border: none;"><colgroup><col width="467"></colgroup><tbody><tr style="height: 0pt;"><td style="background-color: #434343; overflow-wrap: break-word; overflow: hidden; padding: 5pt; vertical-align: top;"><p dir="ltr" style="line-height: 1.2; margin-bottom: 0pt; margin-top: 0pt;"><span face="Consolas, sans-serif" style="background-color: transparent; color: white; font-size: 12pt; font-variant-east-asian: normal; font-variant-numeric: normal; vertical-align: baseline; white-space: pre-wrap;">Module 54</span></p></td></tr><tr style="height: 0pt;"><td style="background-color: #434343; overflow-wrap: break-word; overflow: hidden; padding: 5pt; vertical-align: top;"><p dir="ltr" style="line-height: 1.38; margin-bottom: 0pt; margin-top: 0pt;"><span face="Consolas, sans-serif" style="background-color: transparent; color: white; font-size: 12pt; font-variant-east-asian: normal; font-variant-numeric: normal; vertical-align: baseline; white-space: pre-wrap;">Backlog TuyaMCU 21,2; SetOption20 1; SetOption54 1</span></p></td></tr><tr style="height: 0pt;"><td style="background-color: #434343; overflow-wrap: break-word; overflow: hidden; padding: 5pt; vertical-align: top;"><p dir="ltr" style="line-height: 1.38; margin-bottom: 0pt; margin-top: 0pt;"><span face="Consolas, sans-serif" style="background-color: transparent; color: white; font-size: 12pt; font-variant-east-asian: normal; font-variant-numeric: normal; vertical-align: baseline; white-space: pre-wrap;">Backlog TuyaSend2 3,100; DimmerRange 10,1000</span></p></td></tr></tbody></table>
Depending on the light bulbs you use with this device, you might need to modify the DimmerRange command with a different low value. Both outlets are controlled at the same time (no independent control), and the lights gradually fade when turned on or off. Unfortunately it does not fade between brightness levels.
Pinout comparison (WB3S on the left, ESP-12 on the right):

Submitted by M.J. Wydra
https://github.com/Tediore